Ginger Garlic Paste Recipe
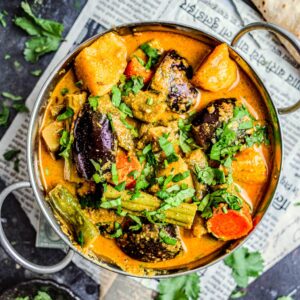
If you cook Indian food often, you’ll know ginger garlic paste is an absolute staple of Indian recipes. Countless legendary dishes — from Punjabi dum aloo to Maharashtrian pav bhaji and palak paneer — utilize the crucial ingredient to build upon layers of flavour. It adds a consistent, even blanket of savoury buttery and spiciness to all dishes; much more so than simple chopped ginger and garlic.
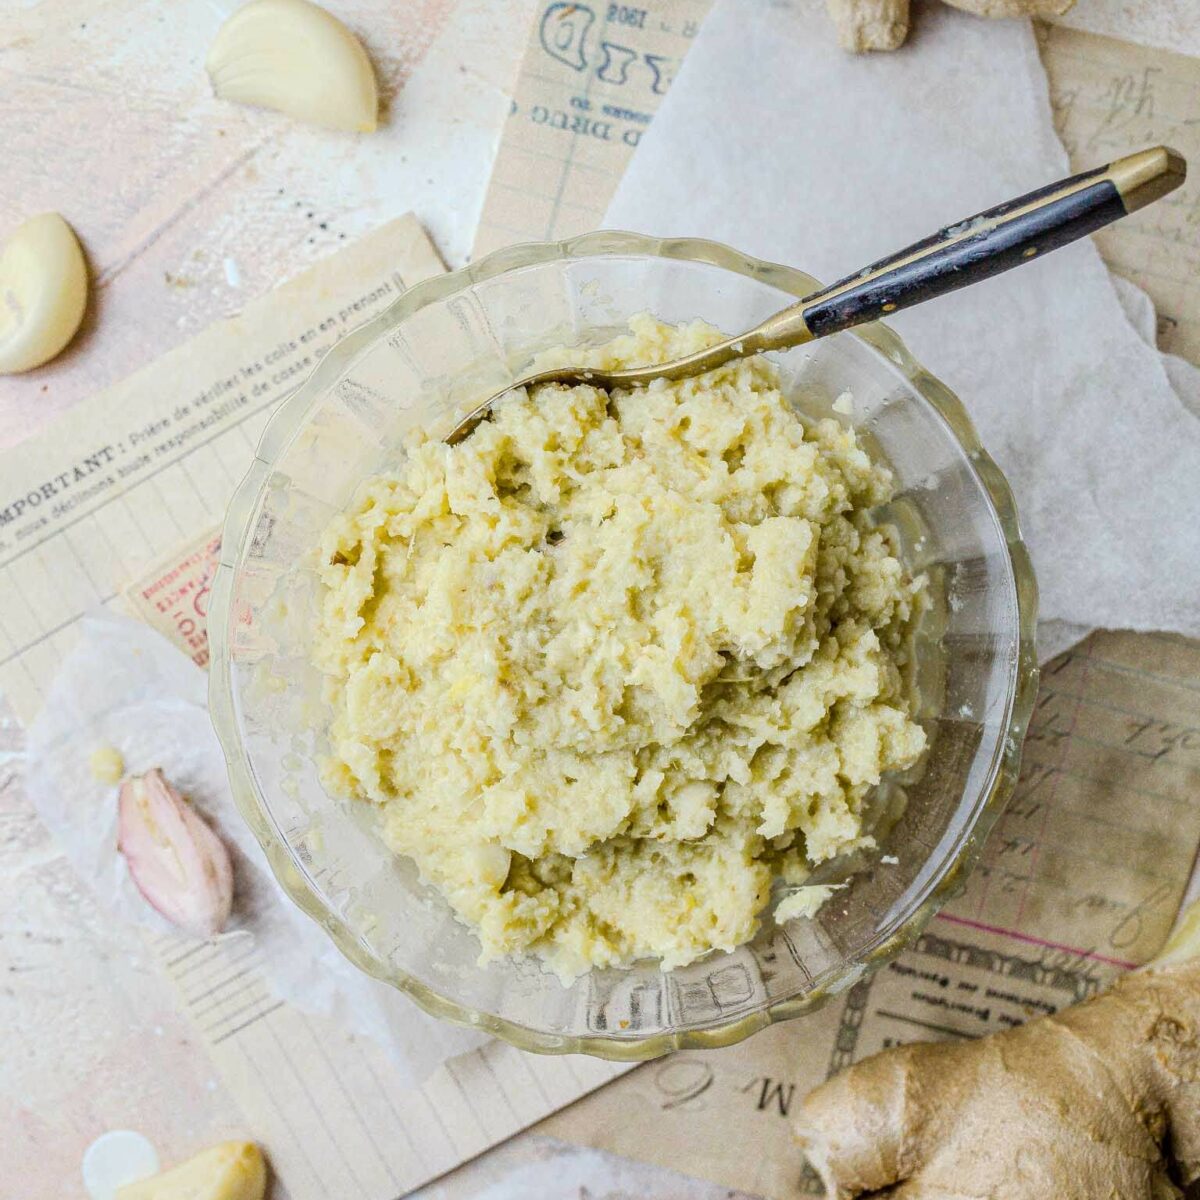
Making a large jar of ginger garlic paste to last the whole month is a technique that saves so much time. Besides, it’s no sweat. The method takes less than 10 minutes (prep time included), requires just two main ingredients, minimal kitchen knowledge, and can be frozen for maximum convenience. It’s affordable, too.
Still, why make ginger garlic paste from scratch when you can buy it from the store? It’s true — Asian markets sell jars of ginger garlic paste, and the frozen section has bags of cubed ginger and garlic (sold separately).
While these might seem tempting, buying ginger garlic paste is a mistake. The jars often contain added preservatives and unnecessary ingredients that leave an unpleasant aftertaste in the mouth. I’ve heard thousands of people complain about it. Plus, storebought ginger garlic paste seems to have higher moisture levels, causing it to split and spit when it reacts with the hot oil. We don’t want that!
In short: In the battle between store-bought ginger garlic paste vs fresh, fresh wins every time. So, let’s get into it!
🧄 Ingredients You Need
As the name suggests, the most basic version of this recipe uses just two ingredients:
- Ginger is spicy, slightly peppery, and pleasantly warming.
- Garlic is buttery and pungent, transforming to a sweet flavour once cooked.
The minimal ingredient list is one of the major benefits of choosing homemade. Unlike shop-bought versions, this is a recipe for ginger garlic paste without preservatives.
A note on the ratio of ginger to garlic: This recipe has a ratio of 50/50 — equal amounts of ginger to garlic — which is my preference. However, different varieties of ginger and even the season it’s grown in can affect its taste, with some being far spicier than others. If the paste is too hot, adjust the ratio to 40/60 (40% ginger, 60% garlic) for milder results.
While ginger garlic paste only has two main ingredients, you can add optional extras to change the flavour or increase its shelf life:
- Oil has many benefits. Firstly, it helps to prevent oxidization (the reason why your homemade ginger garlic paste can turn green). Secondly, adding a neutral oil (such as sunflower or rapeseed oil) while blending can help loosen the consistency of your paste — as opposed to water, which is disastrous for shelf life and cooking (moisture, aka water, is what causes the paste to spit). Thirdly, oil poured on top of the paste before storing helps form a natural barrier for preservation. Ginger garlic paste with oil is my go-to out of all the options!
- Turmeric has been used as a preservative in Indian cooking since ancient times. Adding just a small amount can help.
- Salt reduces water in the recipe, thereby helping to conserve its taste and texture for longer.
- Coriander adds a layer of herby, citrusy flavour. In my household, it’s a must-add addition!
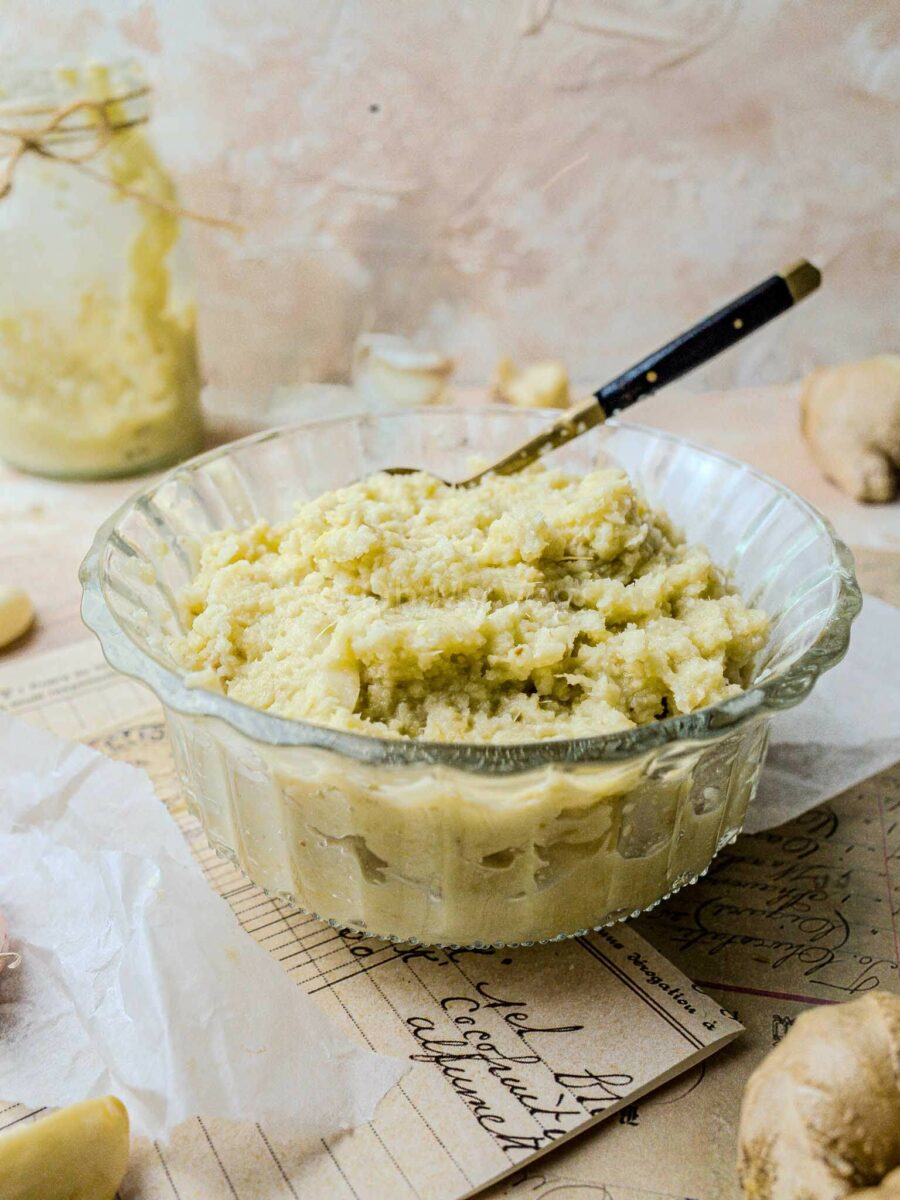
How to Make Ginger Garlic Paste
Pay no heed to anyone who says making fresh, homemade ginger garlic paste is not worth it. This method is unbelievably straightforward. It requires minimal time and just one kitchen appliance, yet it is used in a multitude of Indian recipes.
- Peel the ginger and garlic.
- Cut the ginger into pieces roughly the same size as the garlic.
- Add all the ingredients to a blender and pulse until you achieve a paste-like consistency. Add oil if necessary to loosen the texture (this also helps with preservation).
Best Blender for Ginger Garlic Paste?
My first choice will always be an Indian brand mixer grinder. I use a Prestige mixer grinder, but Preethi or any other brand with a similar wattage, blades, and design will work admirably.
Why choose an Indian brand? In my experience, Indian mixer grinders work especially well for uses Indian food require a lot — like dosa batter, grinding spices, smooth curry gravies, and yes, homemade ginger garlic paste.
You can also use a handheld blender, but it’s less convenient. You’ll need to make a large batch of ginger garlic paste for it to be practical.
How to Make Ginger Garlic Paste Without A Blender
No blender? No problem.
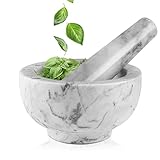
Non-electronic options are wonderful if you have minimal kitchen space to spare or a small budget. For example, ginger garlic paste in a mortar and pestle may take longer but yields fantastic results.
Alternatively, European-style ginger garlic grater plates are visually attractive, effective, and require the least storage! Despite the name, you can effortlessly achieve a purée/paste texture (as opposed to a rough grate) by introducing oil while using the plates.
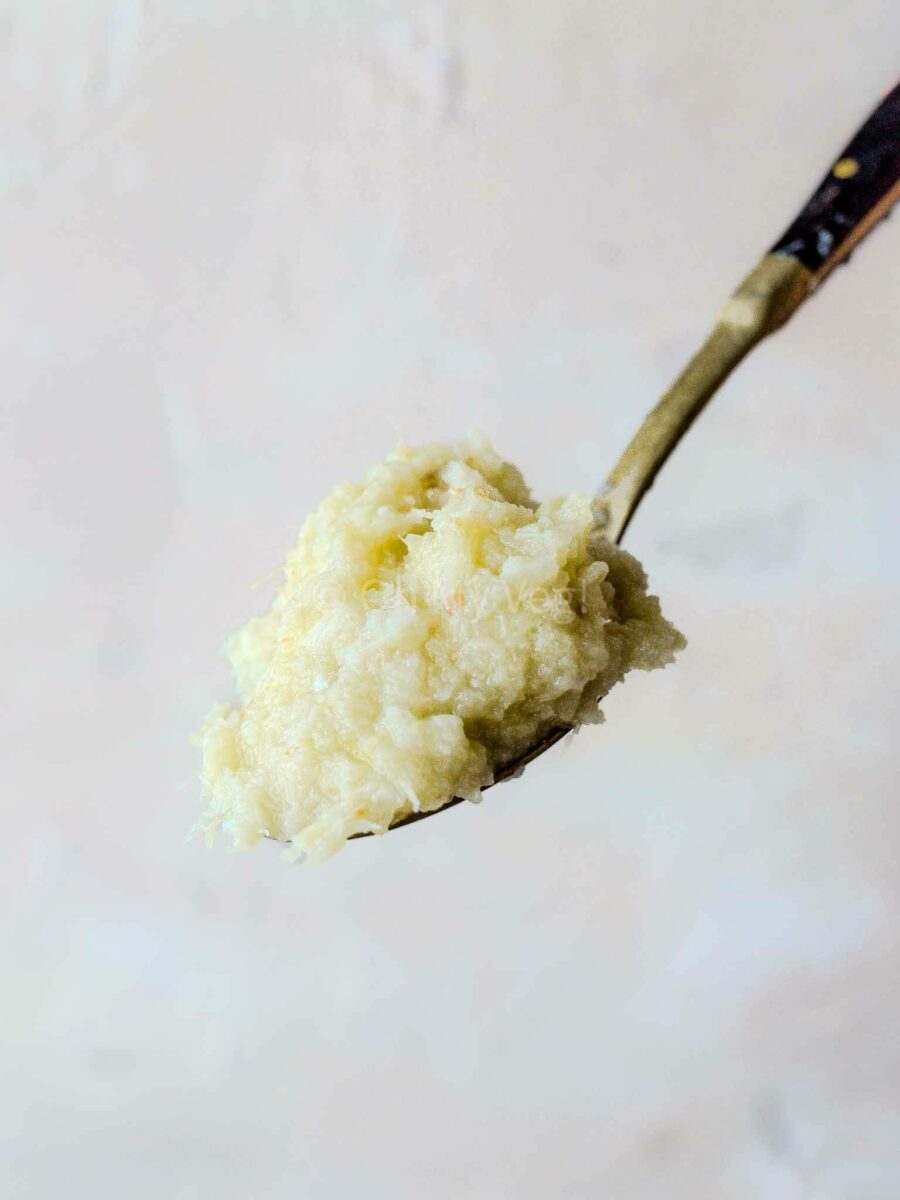
How to Store Ginger Garlic Paste
Depending on your needs, there are various methods you can use for storing this paste! Pick and choose which one is right for you, or try both.
Can Ginger Garlic Paste be Kept in the Fridge?
It’s always best to refrigerate the paste. I use either a small sterilised, air-tight jar or storage container. Once refrigerated, this homemade recipe lasts up to one month.
Can Ginger Garlic Paste be Frozen?
Yes! Freezing ginger garlic paste is an excellent option if you don’t cook Indian food regularly and want to mimic the convenience of store-bought.
Spoon the mixture into an ice cube tray to freeze ginger garlic paste. Place in the freezer, and once frozen, pop the cubes into a freezer-safe bag. Store for up to 6 months and take out a cube whenever your recipe requires! It couldn’t be more effortless.
One cube usually roughly equals 1 tbsp of paste, but measurements may vary depending on your ice cube tray. For accuracy, measure it out.
How to Make Ginger Garlic Paste Last Longer
Adding a natural preservative such as salt, turmeric, or a layer of oil on top can help preserve this recipe for extended periods. Make sure you use quality fresh ginger and garlic too!
Furthermore, good hygiene goes a long way. Use clean, dry utensils in the jar; introducing moisture or other ingredients will cause spoilage. Likewise, ensuring your storage container is clean and dry is vital.
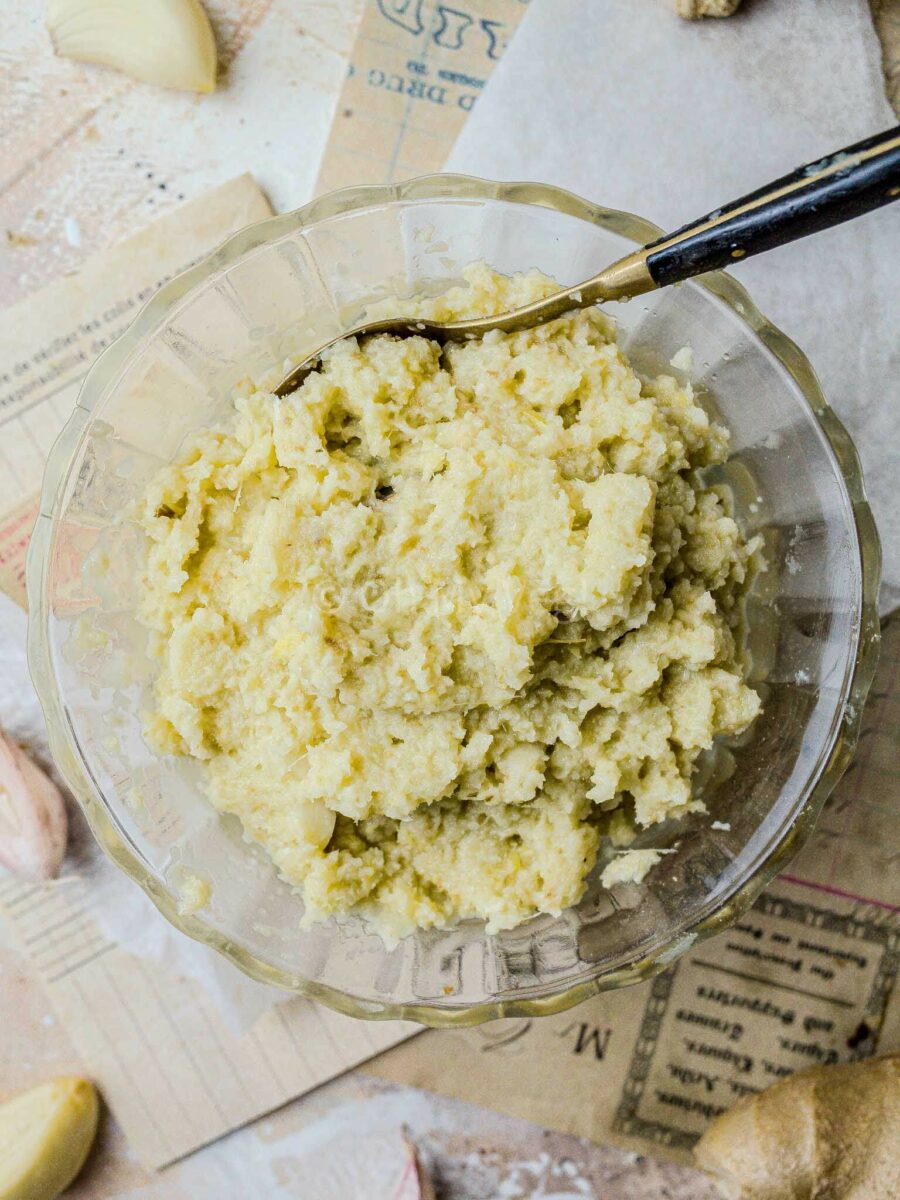
Why Ginger Garlic Paste Turns Green
This is a surprisingly common issue — understandably, ginger garlic paste turning green can be worrying and offputting! Interestingly, it’s perfectly safe to eat, but you may want to avoid it nonetheless.
So, why does ginger garlic paste turn green? There are two main causes: using a metal blade to grind the paste, and a natural reaction of oxygen. If puréed ginger and garlic are exposed to oxygen in the air, it can cause a chemical reaction called oxidation, resulting in a greenish colour. To avoid oxidation, use salt, turmeric, and/or oil in the mixture.
This Recipe Is:
Fresh Ginger Garlic Paste
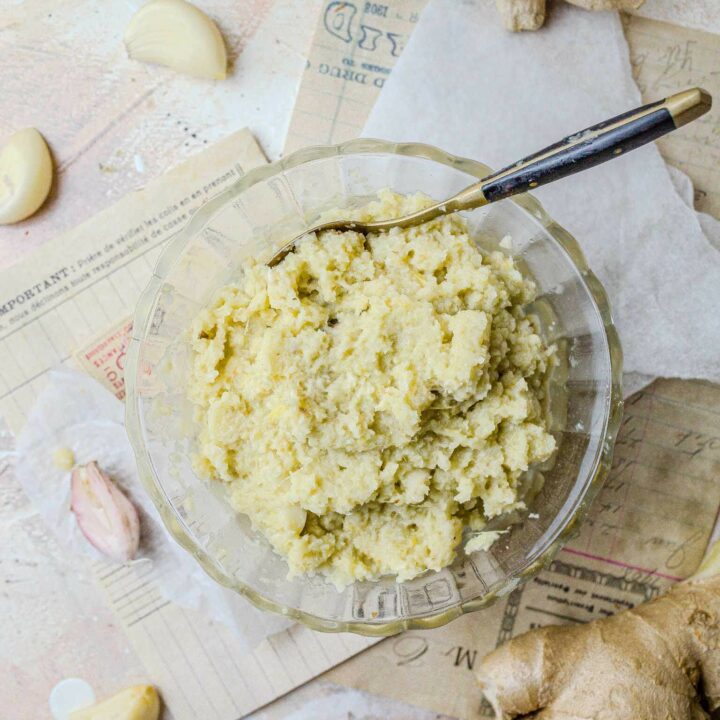
Ginger garlic paste is an essential ingredient for authentic Indian recipes. Making your own is affordable, straightforward, and convenient.
Ingredients
- 125g Fresh Garlic
- 125g Fresh Ginger
- Pinch of Sea Salt, optional
- 1 tbsp Neutral Oil, optional
Instructions
- Peel the ginger and garlic.
- Cut the ginger into pieces roughly the same size as the garlic.
- Add all the ingredients to a blender and pulse until you achieve a paste-like consistency. Add oil if necessary to loosen the texture, and optionally a pinch of sea salt or turmeric.
- Store in an airtight container* or freeze**.
Notes
* Once refrigerated, this homemade ginger garlic paste recipe lasts up to one month.
** Spoon the mixture into an ice cube tray to freeze ginger garlic paste. Place in the freezer, and once frozen, pop up the ginger garlic paste cubes into a freezer-safe bag. Store for up to 6 months and take out a cube whenever your recipe requires!
Recommended Products
As an Amazon Associate and member of other affiliate programs, I earn from qualifying purchases.
Nutrition Information:
Yield:
1Serving Size:
1Amount Per Serving: Calories: 410Total Fat: 16gSaturated Fat: 1gTrans Fat: 0gUnsaturated Fat: 13gCholesterol: 0mgSodium: 170mgCarbohydrates: 64gFiber: 5gSugar: 3gProtein: 10g
Nutrition information isn’t always accurate.


