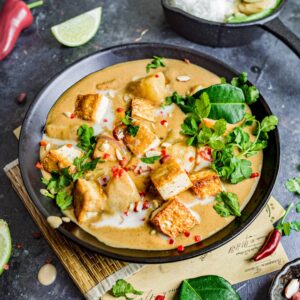
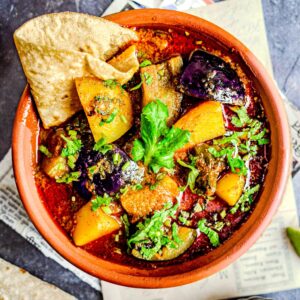
Jwarichi Bhakri, Jowar Roti (GF Sorghum Flour)
Have you ever used ancient grains? This traditional Maharashtrian recipe is hearty, nourishing, and scrummy — all thanks to gluten free, nutty, and sweet sorghum flour. Jwarichi bhakri is an amazing alternative to standard flatbreads or chapatis, and this foolproof recipe will teach you how to make them …
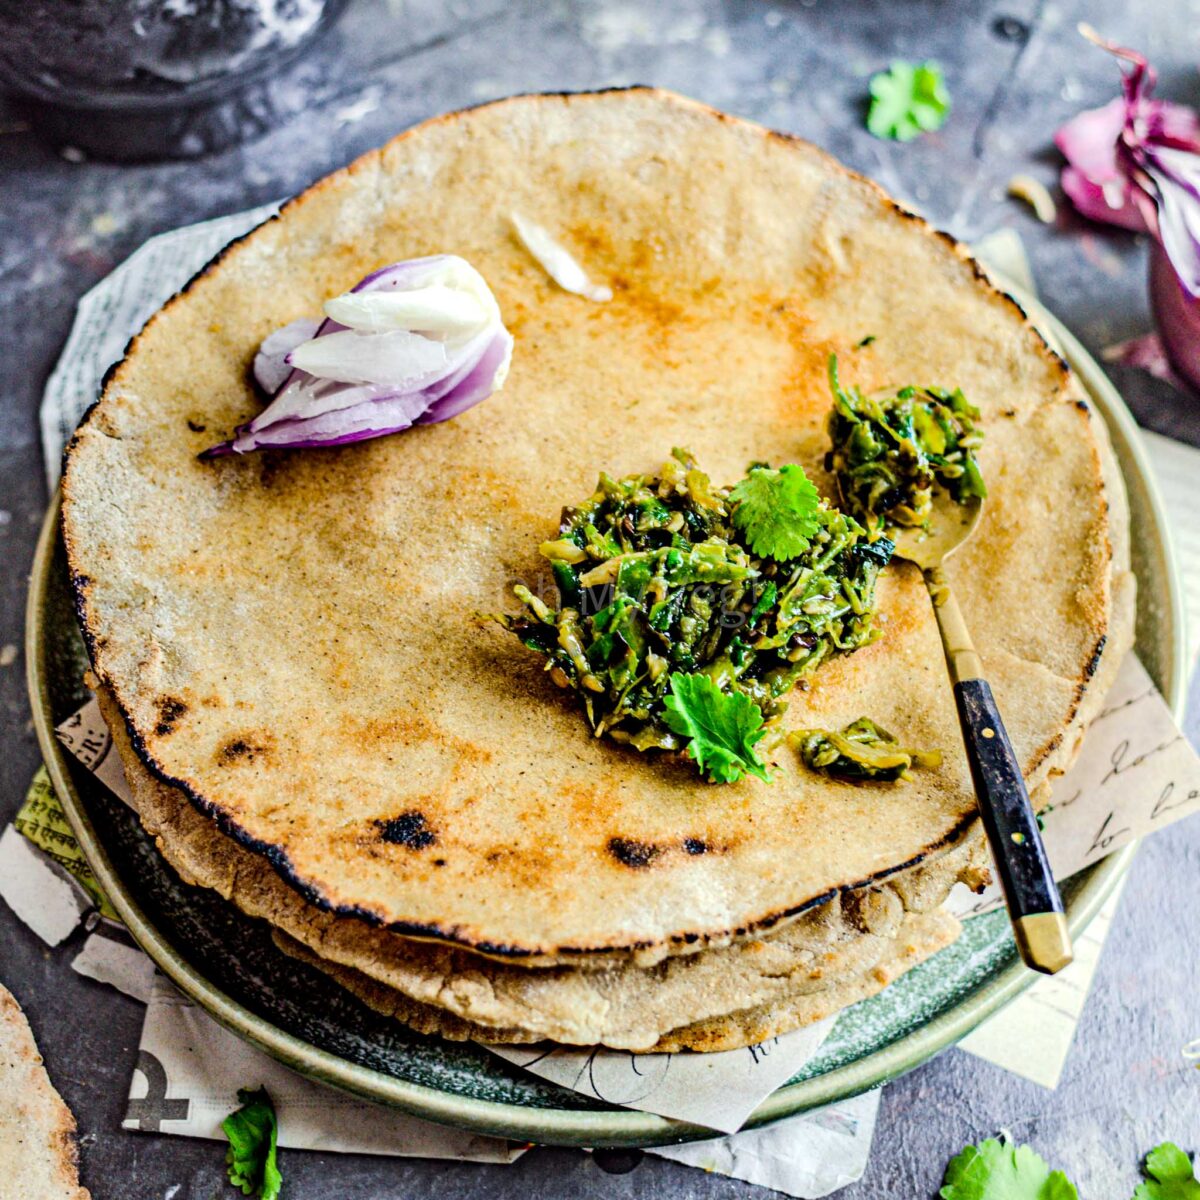
Although gluten free bread is just gaining popularity in the West, miles away in India, people have been eating flatbread made from gluten free grains for centuries.
While it’s true that Indian breads like chapati, paratha, and coriander naan are more popular in restaurants, millions of people across cities and villages of central India include jwarichi bhakri as a staple of their diet, particularly during religious fasts.
For years, I was terrified to make bhakri. I’d been told it was impossibly hard, and only seasoned Indian aunties could master the technique.
When I finally bit the bullet, I was surprised to learn that it’s really not so difficult. I got tried-and-tested tips from an Indian family, tested out my recipe, and eventually landed on the perfect jwarichi bhakri recipe.
If, like me, you’ve been afraid to try your hand at making jowar roti, this is the perfect time to swallow your fears and give it a go. This recipe makes deliciously authentic jwarichi bhakri that remains soft hours after cooking.
❓What is Jowar Roti?
Jowar roti are unleavened flatbreads from India. Called jolada rotti in Kannada and jwarichi bhakri in Maharashtra, they are just one of many gluten free Indian breads.
Jwarichi bhakri are made with sorghum flour, a naturally gluten free ancient grain with many health benefits. According to Healthline, sorghum is rich in vitamin B, magnesium, fibre, antioxidants, and most surprisingly, plant-based protein! This recipe contains over 25g of vegan protein (so around 5.5g per serving).
Compared to standard chapati/roti, jwarichi bhakri are coarser, thicker, and substantially more filling.
Whereas you can easily eat 2-4 chapati per meal (or I can, at least!), just one bhakri is more than enough per person.
Plus, they have a mild flavour that’s sure to be a crowd pleaser.
🫓 Ingredient Notes and Substitutions
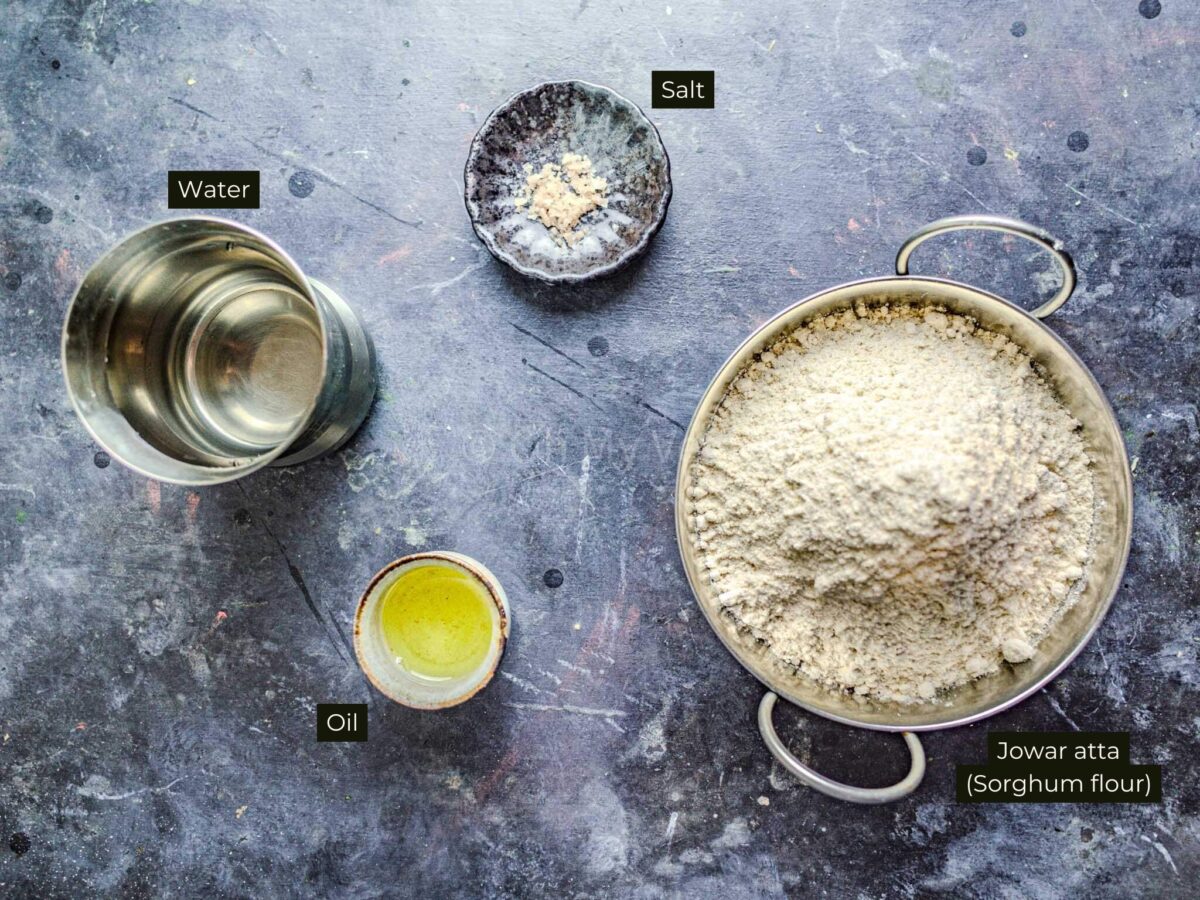
This gluten free bread recipe is beyond simple — you’ll only need a few ingredients.
Although jowar atta (sorghum flour) can be tricky to find in Western supermarkets, if you have a local Asian store, you’ll have no problems purchasing a small bag. Don’t have an Indian shop nearby? No worries. Amazon also stocks sorghum flour!
- Jowar atta (sorghum flour) is our main ingredient. Sorghum is a cereal grain that produces a lovely subtle grassy and sweet-flavoured flour. It’s an ancient grain that’s been used in India for centuries.
- Oil helps to keep the jwarichi bhakri soft. Use neutral oil like sunflower or rapeseed.
- Salt is needed to give a boost in flavour.
- Boiling water is vital for this recipe. It allows the sorghum flour to partly cook, making it easier to work with.
Because this jowar roti has so few ingredients, there are no suitable substitutions. I don’t recommend using another gluten free flour in place of sorghum, as they each act differently.
Plus, jowar roti is 100% gluten free, vegan, dairy free, soy free, and nut free — so you shouldn’t need to swap out any ingredients, since the recipe is already naturally allergen-friendly.
🧑🍳 How to Make Jwarichi Bhakri
Although they look very similar, the method for making jwarichi bhakri is completely different from that for ordinary chapati/roti.
Because sorghum flour is gluten free, it doesn’t have the strength to hold together like ordinary atta.
As a result, you’ll need to follow a precise set of steps for successful jwarichi bhakri. I won’t lie — it can take practice. But you’ll get there!
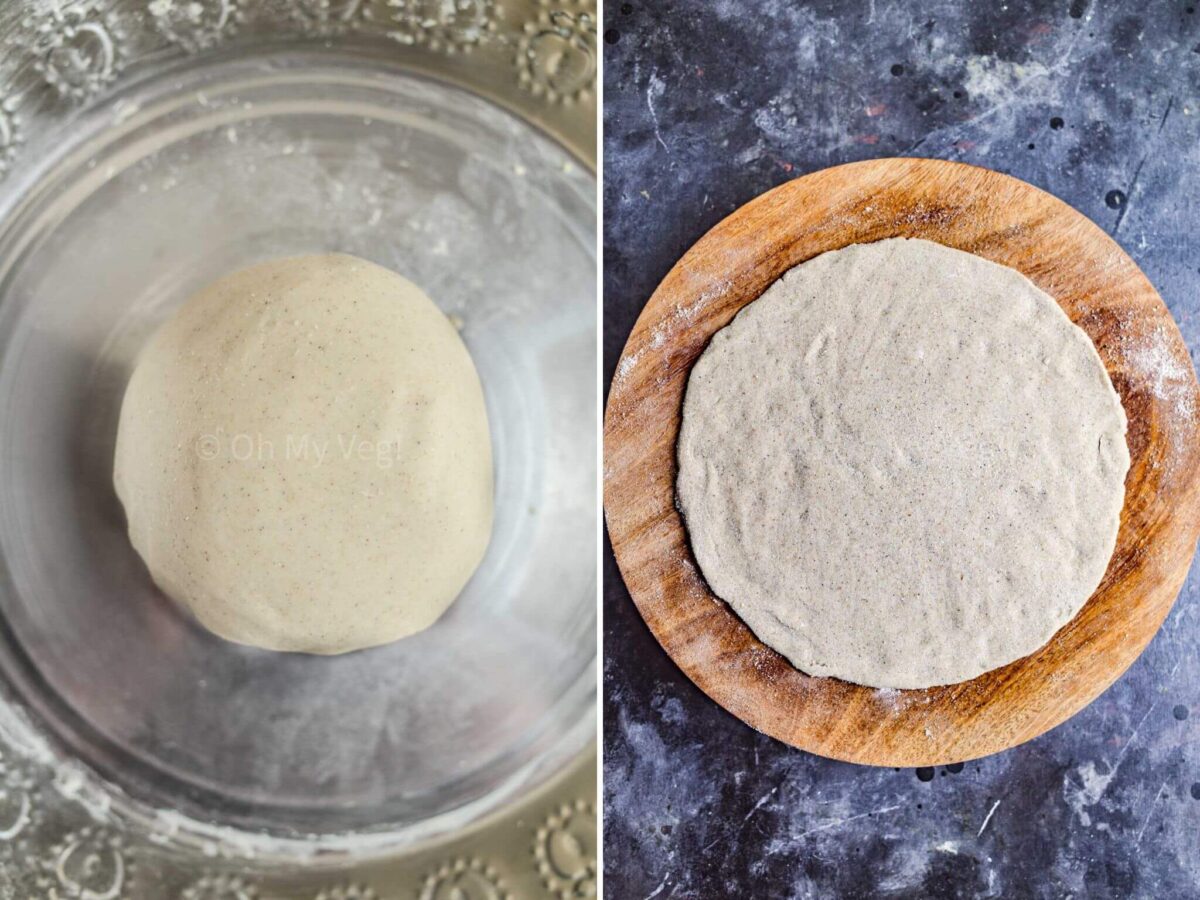
- Boil water in a large saucepan and add both oil and salt to the water. Once it comes to a boil, add the jowar flour and quickly stir. Turn off the heat immediately.
- Steam the jowar flour by covering the pan and letting it rest for around 10 minutes.
- Tip the mixture onto a parat and begin to knead it. If still hot, use a spoon at first before using your hands. Knead until smooth (as pictured).
- Break off a large portion of the dough and roll to make a ball. Cover the rest.
- Roll the jwarichi bhakri. Cover your rolling board with sorghum flour and carefully flatten the ball with your palm. Use your palm to simultaneously press on the roti while rotating.
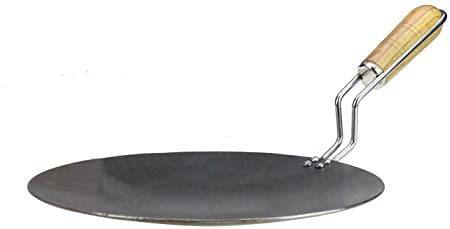
- Cook the bhakri by heating a tawa over medium flame. Carefully place the bhakri on the tawa.
- Immediately spread water on the top layer of the bhakri.
- Cook the bhakri until the water dries, then carefully flip. Cook the other side until it develops brown spots.
- Puff the bhakri either on the open flame or on the tawa itself. If you’ve rolled it evenly, it will puff. If it doesn’t, don’t worry.
- Immediately spread oil on the top of the bhakri and cover it. This keeps it soft. Repeat with the remaining dough balls.
While I have tried other methods, including adding boiling water directly to the dough, none yielded such excellent results as this technique.
Tips to Make Jwarichi Bhakri
I’ve tried to make the recipe card below as detailed as possible with the instructions. Jwarichi bhakri isn’t a hard recipe to make, but it can be tricky for beginners.
That’s why I recommend reading these tips, so you can skip the “speed bumps” I hit when I was first trying to make sorghum chapatis!
- The dough may appear sticky and pasty at first. Don’t be tempted to add more flour — just keep kneading. The more you work the dough, the more the flour will soak up the excess water.
- Knead the dough for long enough. Don’t give up halfway through! Knead the dough until it’s beautiful and soft. It won’t have the same consistency as chapati dough (it’s more crumbly) but should form a smooth ball, as pictured above. Kneading the dough to this consistency really helps to form your final bhakri. I advise kneading by hand rather than using a stand mixer where possible.
- Cover the dough when you’re not working with it. We want to keep the dough from drying out. A wet cotton cloth is ideal here.
- Practice makes perfect when it comes to shaping jwarichi bhakri. Don’t be tempted to use a roll pin — it doesn’t work. Shaping by hand is the easiest.
- Carefully transfer the bhakri to the tawa as they are very delicate and can break. Don’t attempt to “slap” the bhakri down on the tawa in the same manner as chapatis.
- If it doesn’t puff, don’t stress. Flatbread puffing usually indicates you’ve rolled the bread evenly. This takes practice! As long as your bhakri are cooked on both sides, they’ll still be edible.
- Spread oil on the jwarichi bhakri after cooking to help keep them soft. I use oil rather than ghee not just to keep the bhakri vegan, but also because it seems to do a much better job!
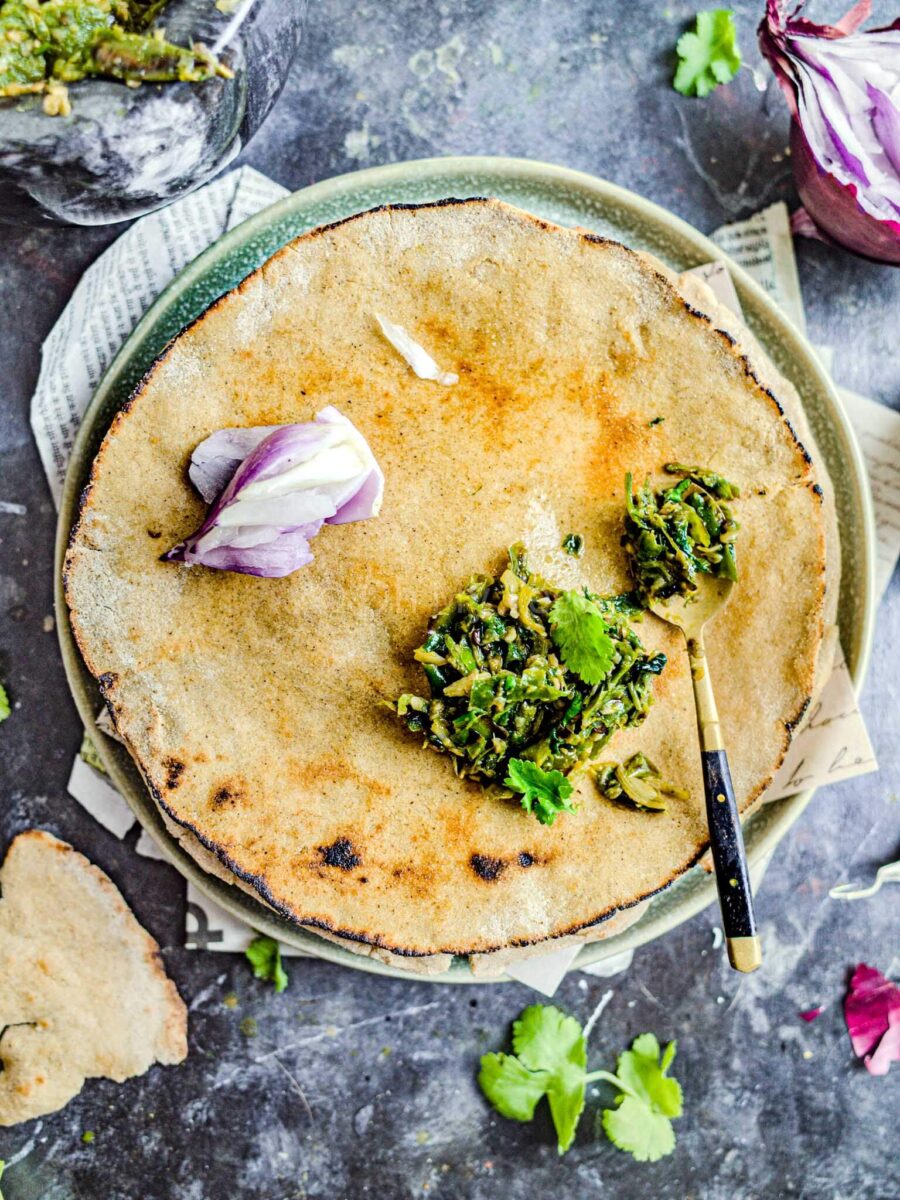
🥘 How to Serve Jowar Roti
Jwarichi bhakri is a staple of Maharashtrian cuisine, so I love to serve it with traditional and humble recipes from the region.
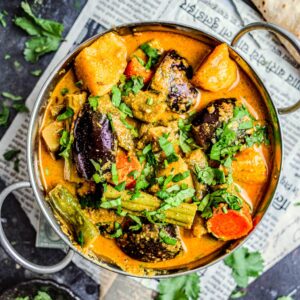
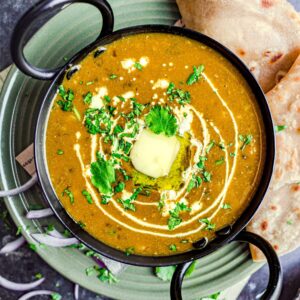
Batatyacha rassa — one of the most popular recipes on Oh My Veg — is a wonderful choice, but you’ll typically see the gluten free roti paired with bharli vangi, pithla, or zunka.
Farming families are known to eat bhakri without any bhaji (vegetable dish), serving it with an unassuming combination of thecha (roasted and mashed green chillies with garlic) and crushed onions.
❤️🔥 Why You’ll Love This Recipe
If you tried this jwarichi bhakri recipe — or any other recipe on my website — please leave a 🌟 star rating and let me know your thoughts in the ✍️comments at the bottom of the page. Thanks for being a part of my community!
Jwarichi Bhakri
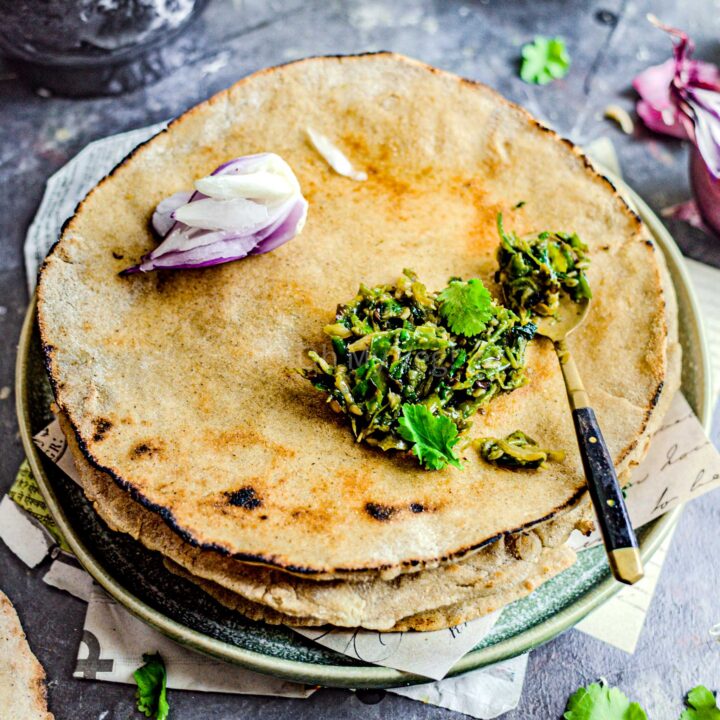
Jwarichi bhakri (jowar roti) is an Indian gluten free flatbread made from sorghum flour. It's nutty, filling, and yummy with authentic sides.
Ingredients
- 250ml Water
- 240g Sorghum Flour (Jowar atta)
- 1/4 tsp Salt
- 1/2 tsp Oil
- ~ 2 tbsp Water*
Instructions
- Boil water in a large saucepan over medium flame. Once it comes to a boil, add the salt and oil. Give it a quick mix, then add the jowar flour. Use a wooden spoon to stir the flour in. Immediately shut the heat, cover, and steam for around 10 minutes.
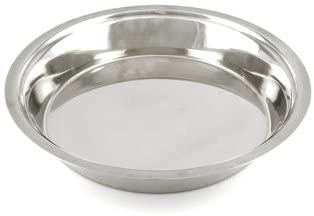
- Once rested, knead the dough. Tip the mixture into a parat (Indian flat mixing bowl). If it's still hot, use a spoon to further mix the flour and water. Once it's warm enough to handle, use your hands to begin kneading. At first, the dough may be sticky and pasty, but continue kneading without adding more flour, until you achieve a smooth texture.
Depending on the brand and quality of your sorghum flour, plus its age, you may need to add more water. I did — 2 tbsp. Add a tbsp at a time until you achieve the required consistency. - Separate the dough into 5 or 6 (depending on the size of your tawa) pieces and roll into balls. Take one ball onto a rolling board. Cover the remaining with damp cotton to prevent drying out.
- Roll the jwarichi bhakri. Cover the rolling board with sorghum flour. Carefully flatten the ball using the palm of your hand, then dust the flattened ball with more flour. Begin to shape the bhakri by pressing with the palm of your hand and simultaneously rotating the dough. You can use the fingers of your other hand to avoid the edges to maintain a more round shape. This takes practice, so take it slow.
- Cook the bhakri. Heat a tawa over medium heat. Carefully lift the bhakri and place it on the tawa (don't slap it onto the tawa as you would ordinary chapatis).
- Immediately spread water on the top layer of the bhakri.
- Cook the jwarichi bhakri until the water on the top half dries. Carefully flip the bhakri using a spatula, then cook the other side until it develops brown spots.
- Puff the bhakri on the open flame using tongs — or on the tawa itself, by pressing on its surface with a chapati press.
- Remove the bhakri from the tawa and immediately spread oil on the surface. Cover the bhakri in a chapati warmer (or something similar). Repeat the process with the remaining dough.
Notes
* You may have to add more or less water, depending on the quality of your sorghum flour. Use this amount as a guide, not a strict instruction.
Recommended Products
As an Amazon Associate and member of other affiliate programs, I earn from qualifying purchases.


