Vegetarian Fish, Chips, Mushy Peas with Battered Halloumi
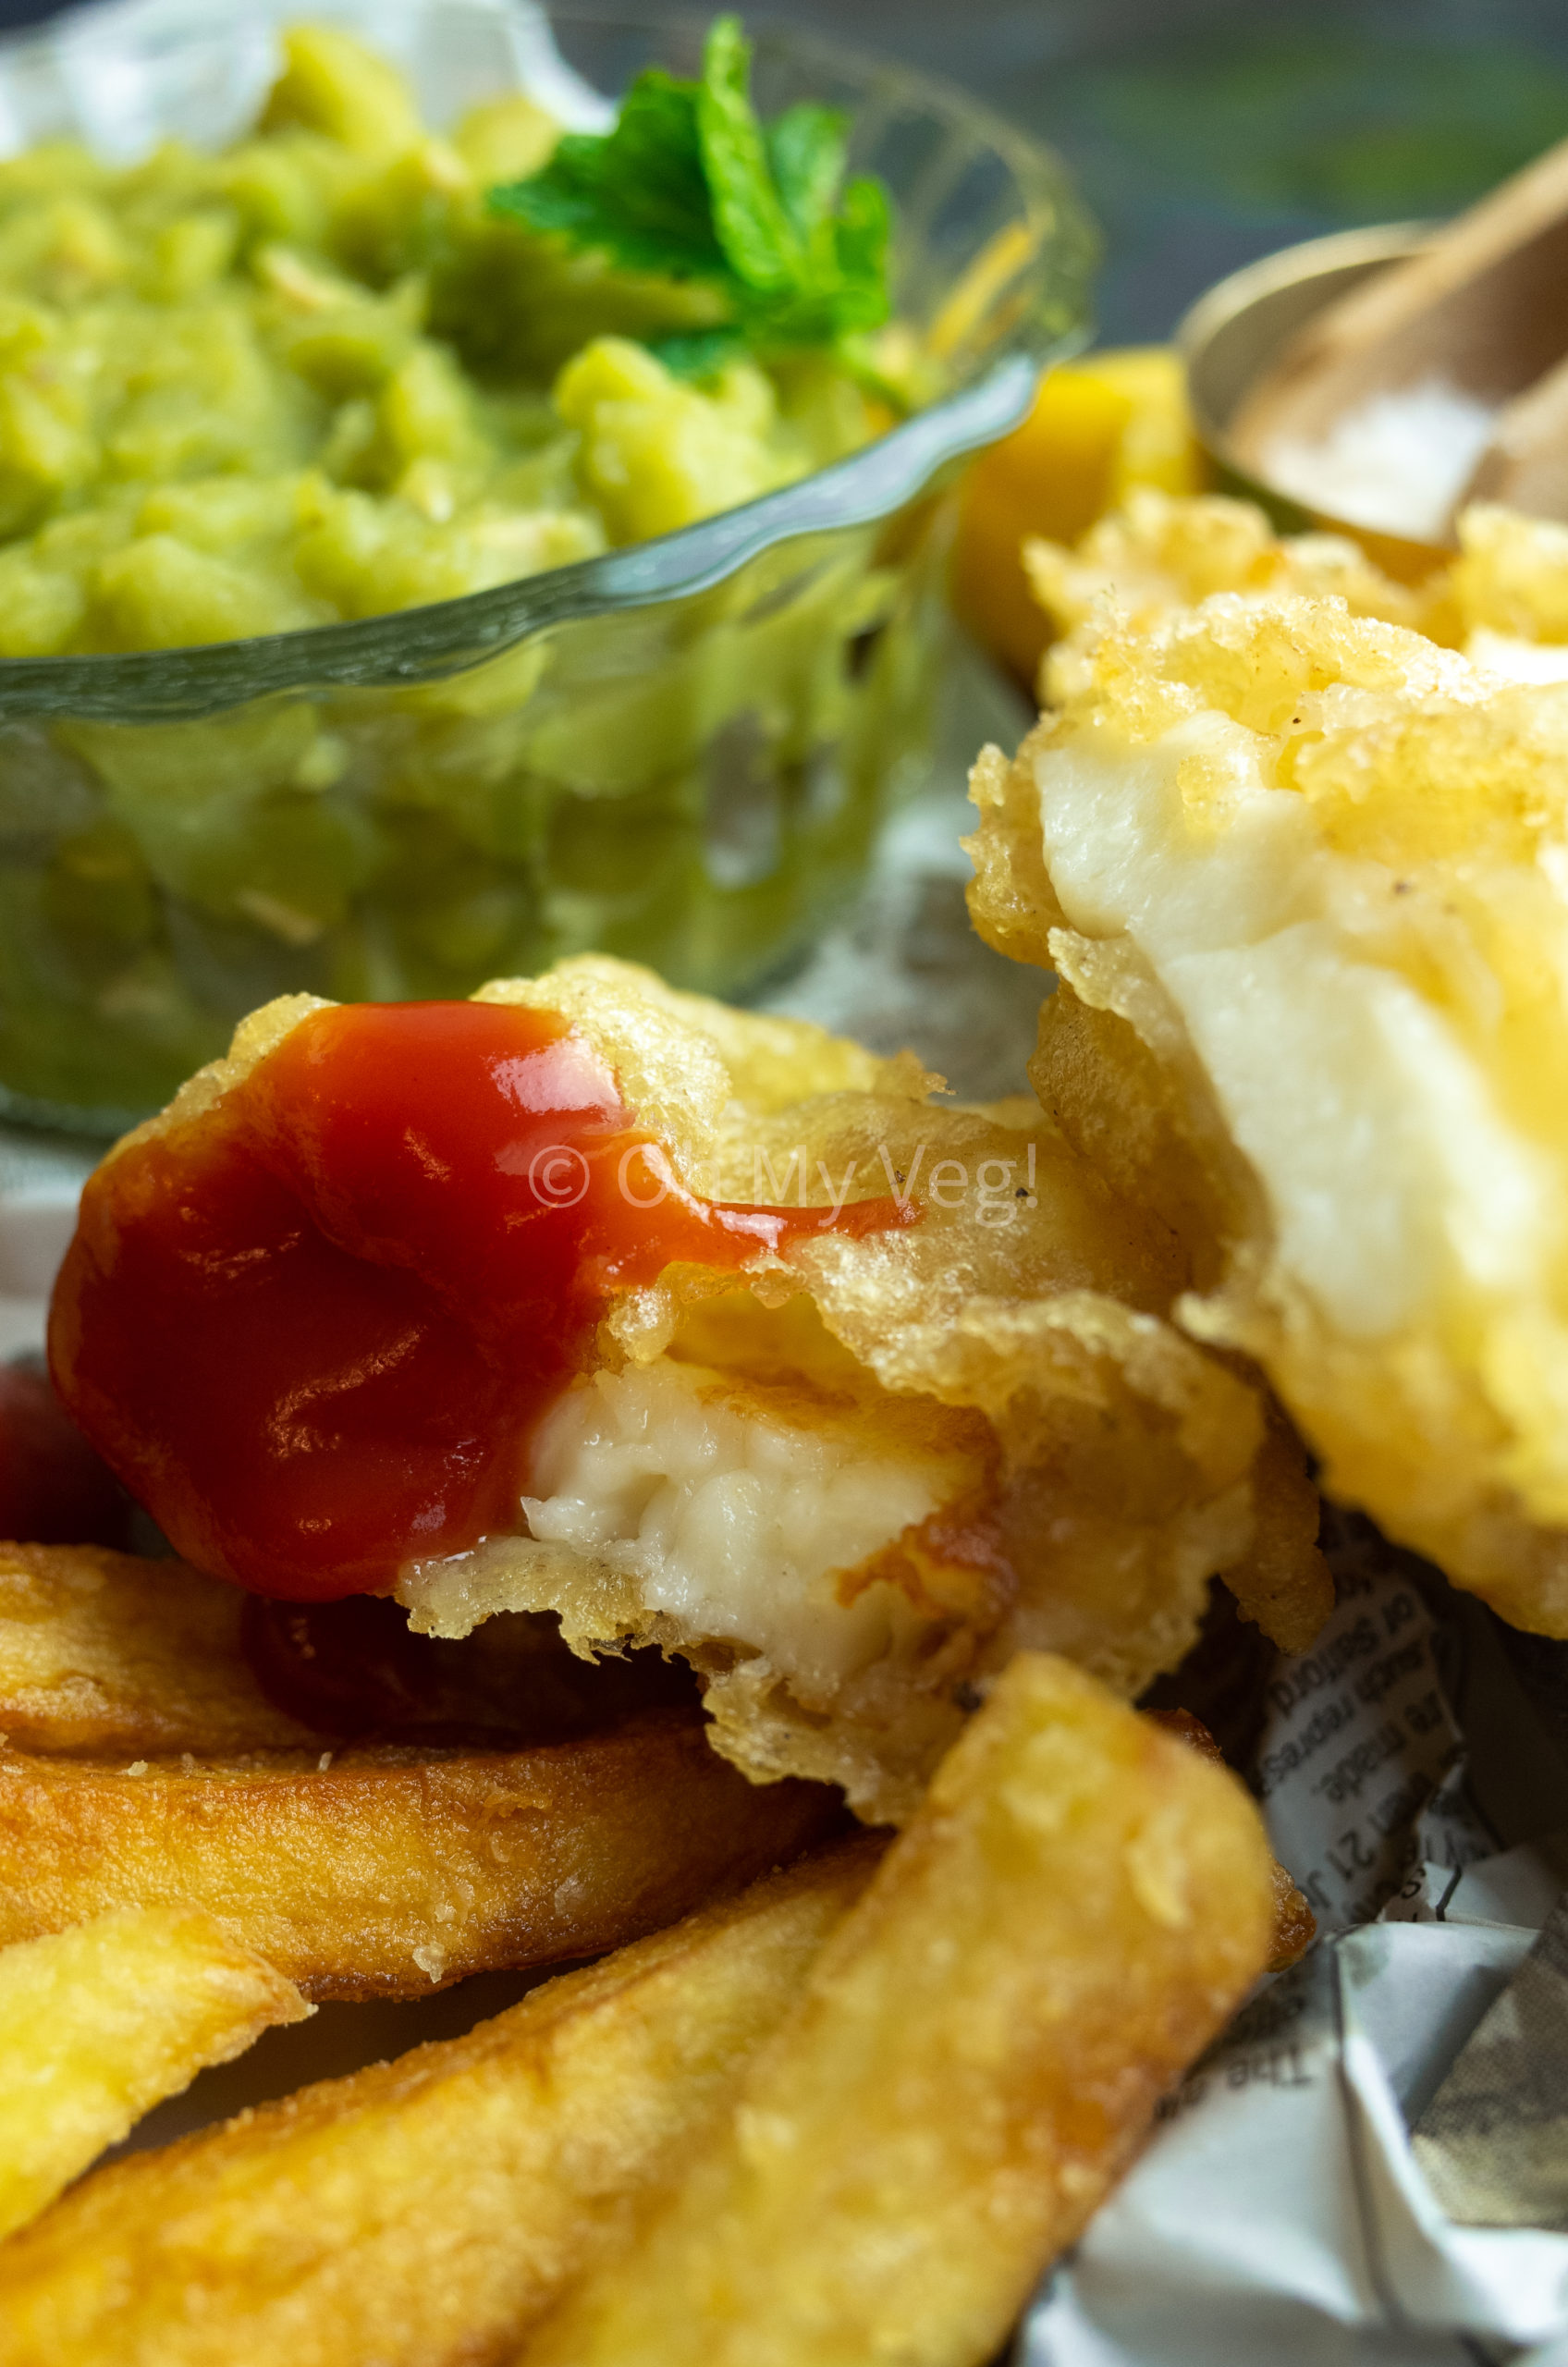
There are three vital components of vegetarian fish and chips: homemade crispy chips (fries, for any Americans!), delicious mushy peas, and a crunchy battered fish substitute — in this case, halloumi. This recipe has all three. Expect golden-brown chips, light and crisp batter, and mushy peas to die for.
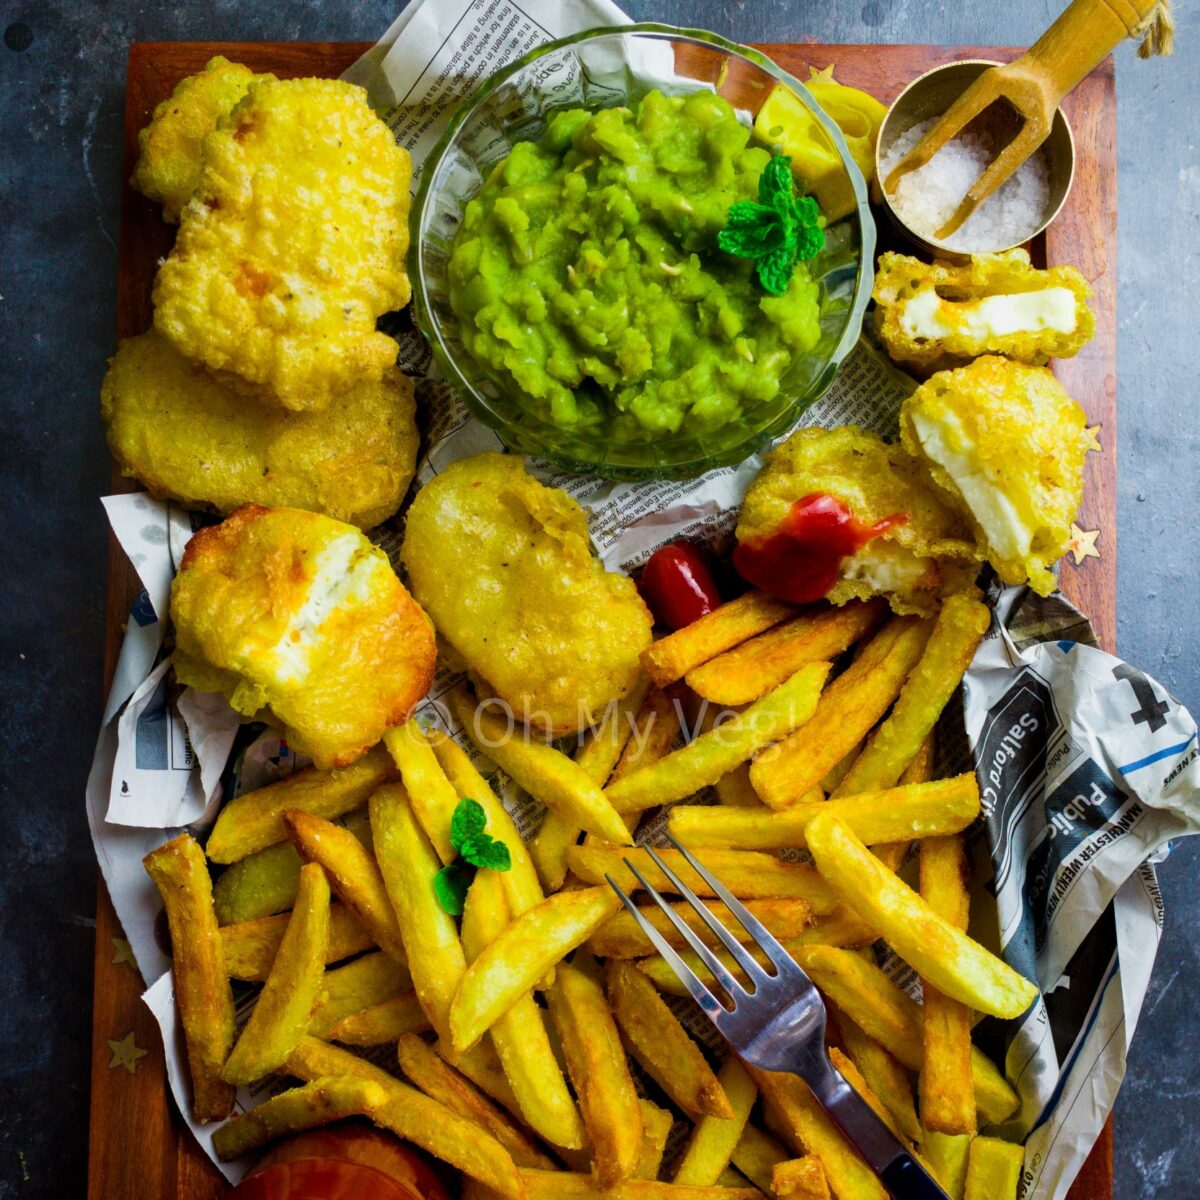
Fish and chips is a traditional meal ubiquitous in Britain — just as much so as Sunday roast! Growing up in a seaside town, fish and chip shops were everywhere. It was a weekly treat. Although much of the UK is not religious, eating fish on Fridays (a Catholic fast) is a tradition that’s continued well into modernity. Of course, as a vegetarian, I only ever ate the chips anyway — and never complained! But now I’d like to share my version of fully vegetarian fish and chips, complete with battered halloumi.
This homemade meal is better than any you’ll find at a traditional Fish and Chip shop. Not greasy or oil — just crispy, crunchy and delicious.

Are homemade Chips, Battered Halloumi and Mushy Peas Vegan & Gluten Free?
This recipe for Vegetarian Fish & Chips is completely Soy Free, Alcohol Free, and Nut Free.
To make this recipe Vegan, simply substitute the Halloumi for a Vegan option – either Tofu or Banana Blossoms work really well battered as Vegan ‘fish’. The chips and mushy peas are naturally Vegan already.
To make this recipe gluten-free, simply use a good gluten-free flour for the Halloumi batter. The chips are naturally gluten-free (I use cornflour for a coating that adds an extra crispness) as are the Mushy Peas.
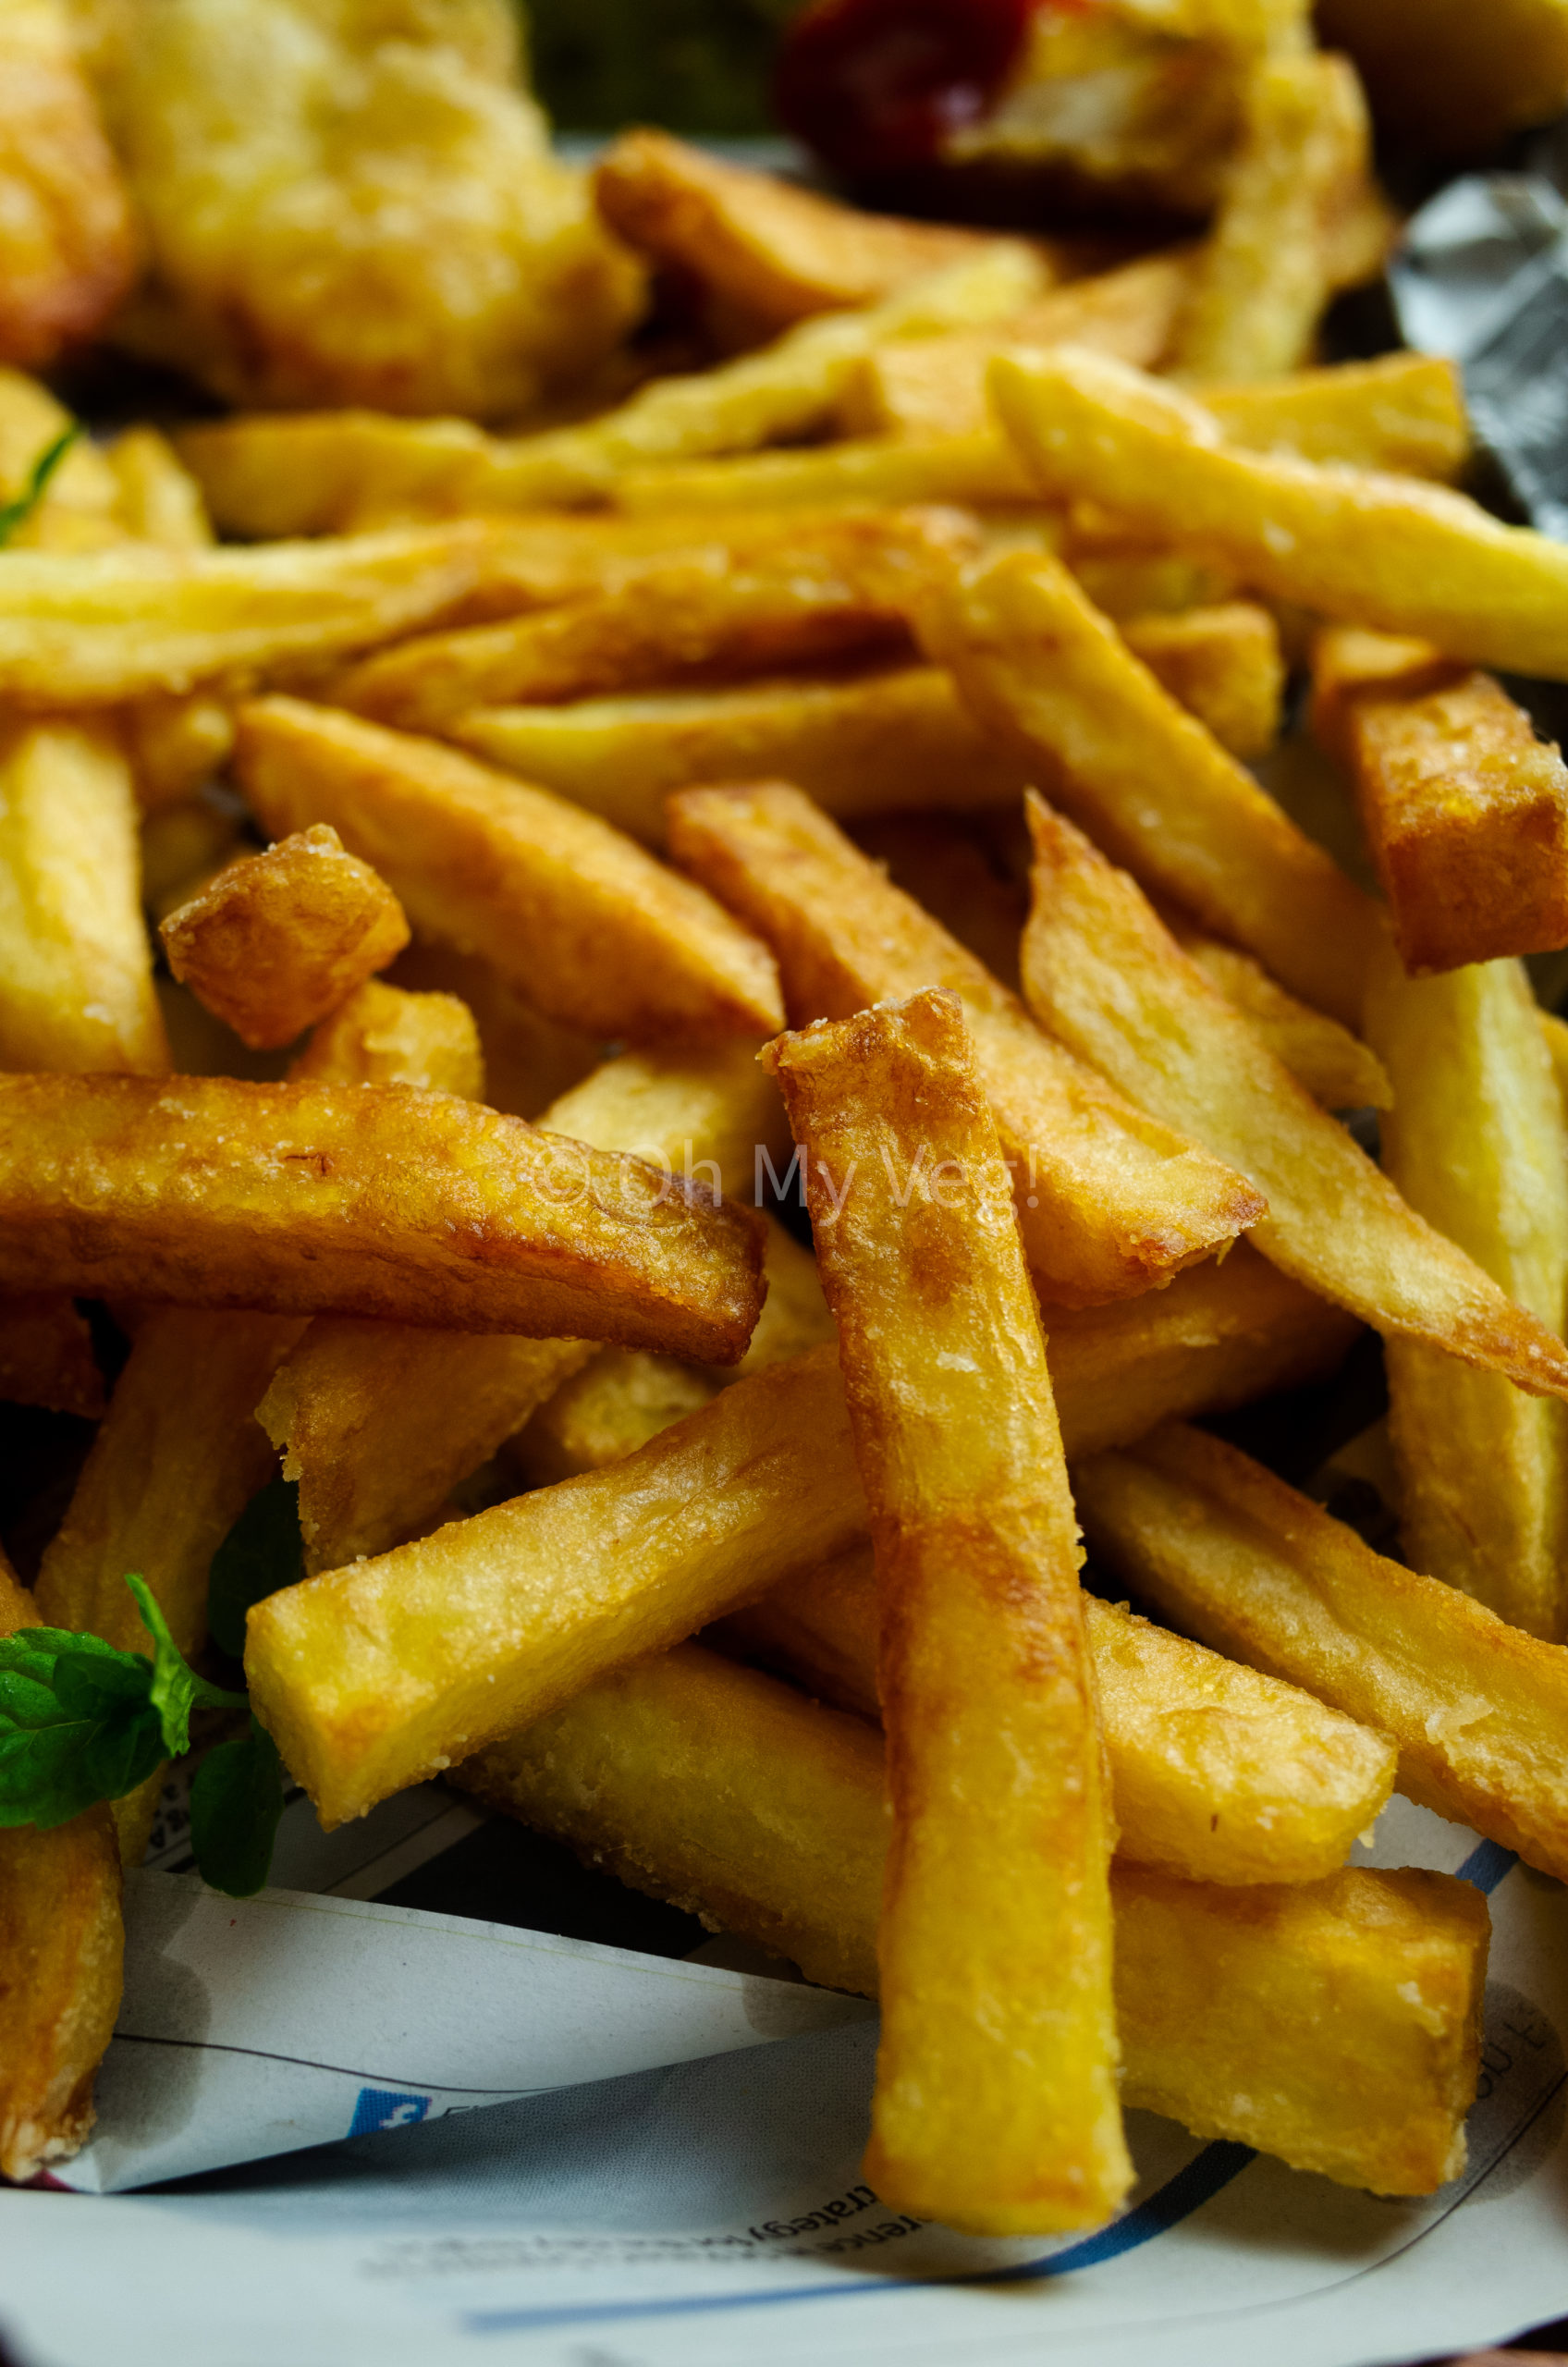
Tips for the best homemade Chips / Fries
- Use the right type of potato. Floury potatoes work best here – my personal favourite is a good old Maris Piper, but King Edwards, Désirée, Russets or Rooster Potatoes also work well.
- Cut your chips to even sizes. I prefer medium-sized chips – not fries (thin), but not steak cut (thick) either. This gives room for both the fluffiness of the potato inside and also maximum crispness. Cutting your chips evenly will mean that they not only look better but also cook more uniformly.
- Parboil your chips. Just like the key to a good fluffy and crispy roast potato, parboiling your chips allows the edges to fluff up just slightly – making them extra crispy when fried. It also means they take less time in the oil!
- Use cornflour. Coating your chips in an even layer of cornflour before frying adds an extra crispy crunch to the outside of the chip.
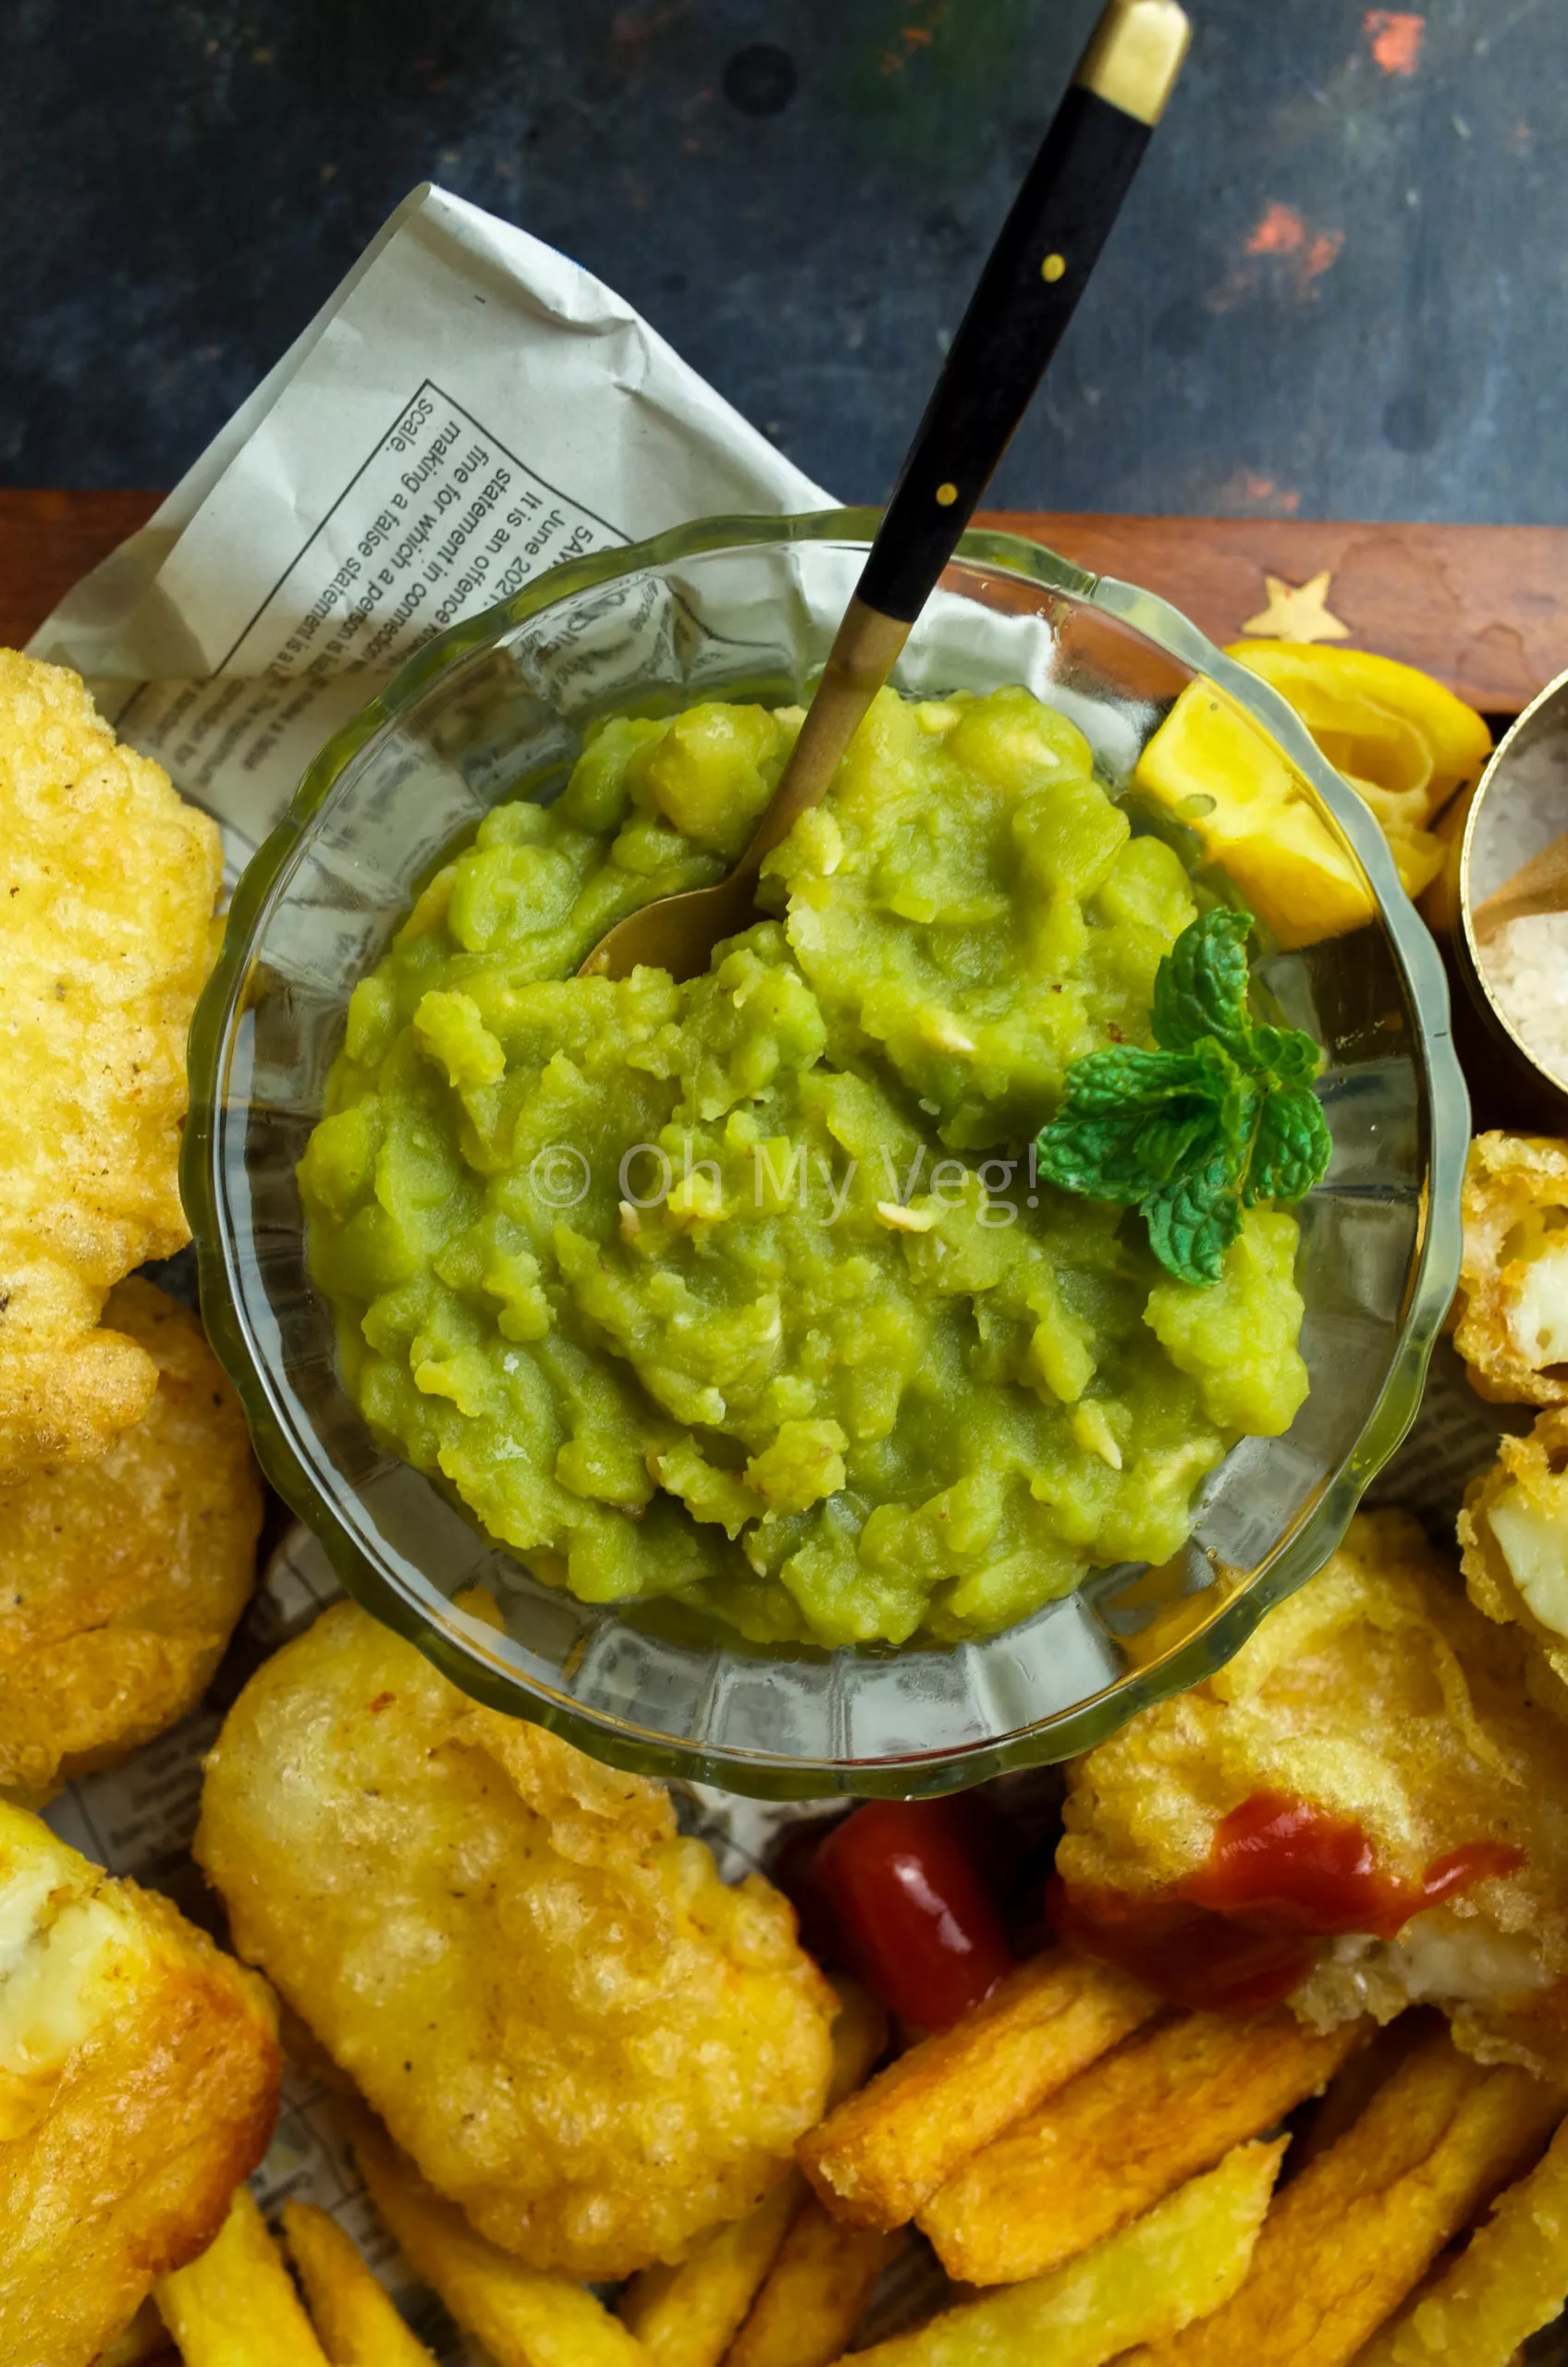
Tips for the best Mushy Peas
- Use marrow-fat peas. The most important step for good mushy peas is using the right type of peas. It’s absolutely vital that you use British marrowfat peas for this recipe instead of ordinary green peas or garden peas. Marrowfat peas are mature peas which have been purposefully left on the plant to dry out before being harvested. They are considerably larger and starchier than ordinary peas, which allows them to cook down into the delicious ‘mushy’ texture that we all know and love! You can buy them in supermarkets if you’re in the UK, otherwise find them on Amazon.
- Soak overnight. Like most dried pulses, marrow-fat peas need to be soaked overnight before cooking. They will swell up and double in size.
- Don’t complicate the ingredients. All you need to make mushy peas is marrowfat peas, baking soda, salt, and optionally, sugar. You can add mint to your taste, too. But don’t try to complicate it with any other ingredients and definitely don’t add any green food colouring!
- Adjust thickness to your taste. The recipe below makes quite a thick consistency of mushy peas. If you prefer, just add a little more water to thin it down and simmer to the consistency you prefer. It’s up to you!
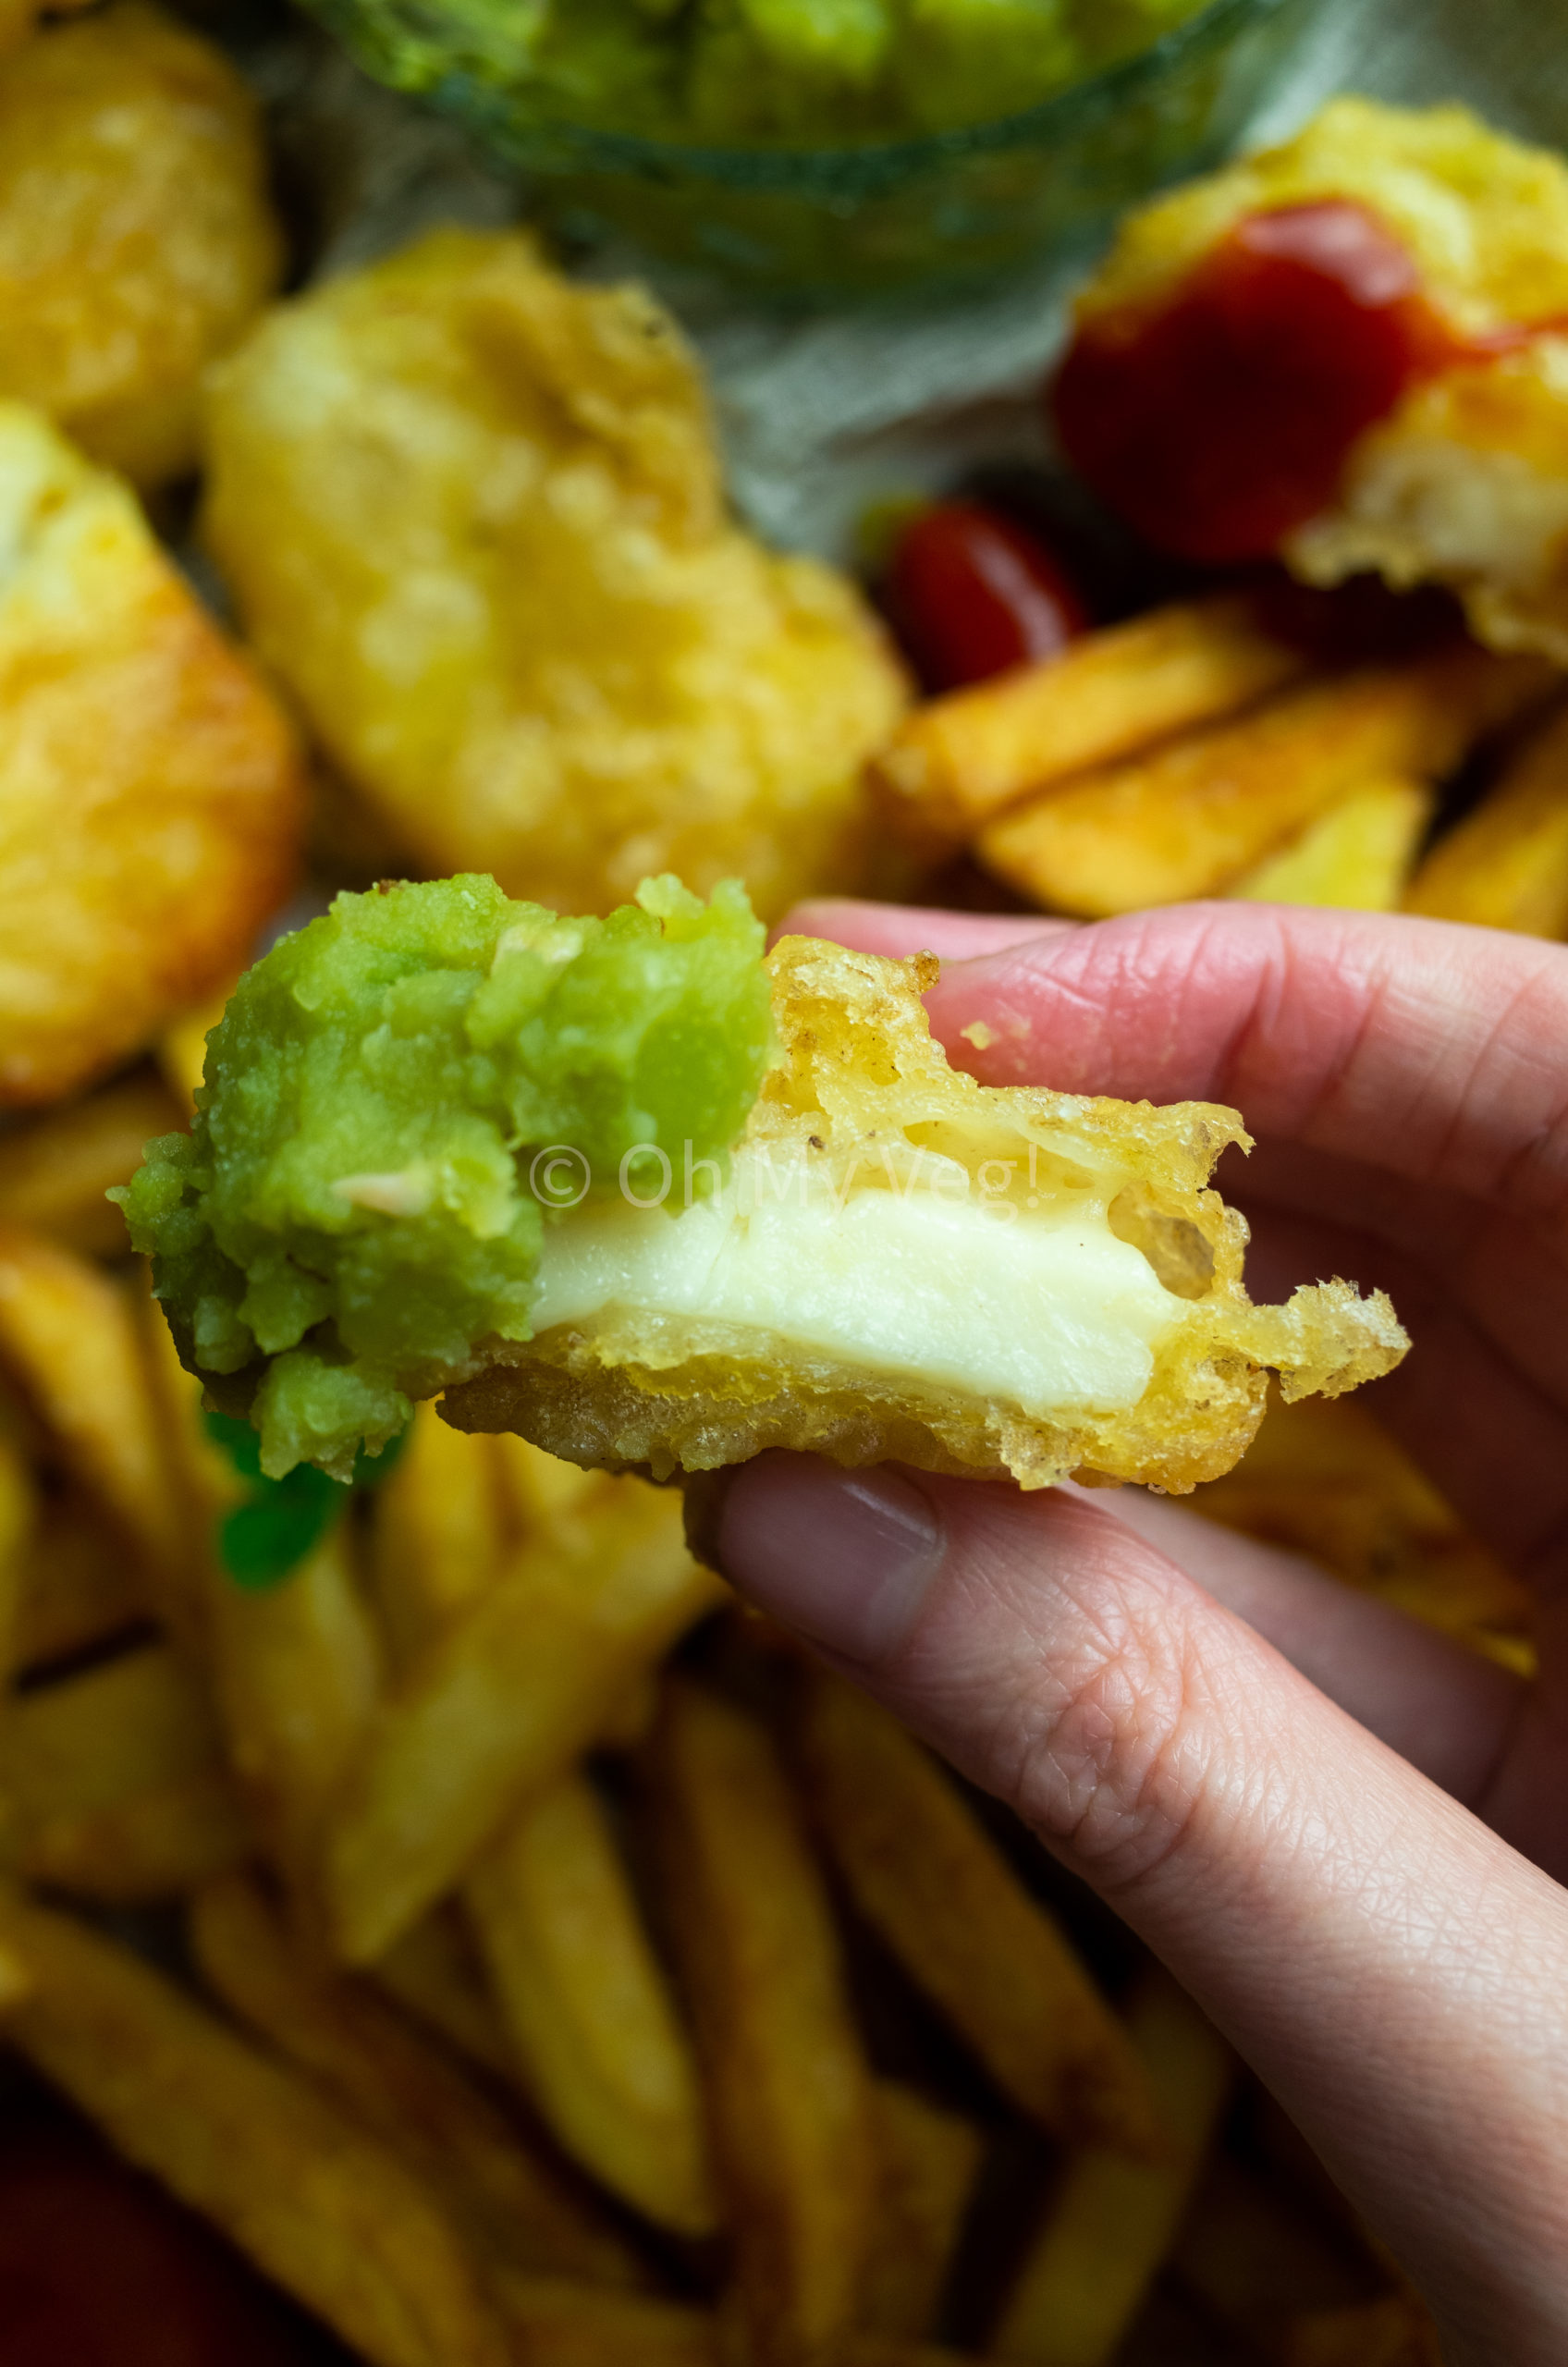
Tips for the best Battered Halloumi
- Don’t salt. Halloumi is naturally an extremely salty cheese. Adding additional salt to the batter will only ruin the dish.
- Use sparkling water (soda) or craft beer. I like to use sparkling water/soda in my battered halloumi recipe. However, if you don’t mind using alcohol in your cooking, you can use a good quality craft beer for a variety of beer-battered halloumi. Either will work well – the key is the fizz. Make sure to refrigerate either before using so they are nice and cold.
- Make sure the oil is hot. The coolness of the batter hitting the hot oil is what will ensure you get a really good crisp to your halloumi.
- Don’t overcrowd while frying. Try not to overcrowd your pan when frying the halloumi! Not only will they stick together (messy!), but they will also bring the temperature of the oil down considerably. That results in soggy, oily battered halloumi — not what we want!
Can you Air Fry or Oven Bake Homemade Chips and Battered Halloumi?
Yes! You can air fry or oven-bake homemade chips very successfully.
- To Air Fry Homemade Chips: Spray your air-fryer basket with neutral oil and heat to 180C. Arrange the chips in a single layer and air-fry for 20 minutes, checking and turning over halfway through cooking. Cook until golden brown.
- To Oven Bake Homemade Chips: Preheat your oven to 200C and line a baking tray with parchment paper. Arrange your chips in a single layer on the baking parchment and spray/drizzle with cooking oil. Once the oven is hot, bake them for 20-30 minutes, turning halfway through cooking. They should be beautifully golden brown.
As a result of the batter for the Halloumi being of a flowing consistency, it is unfortunately not suitable for either air frying or oven baking.
Instead of using a battered halloumi, you could make a breaded halloumi – dip it in batter first and then into seasoned breadcrumbs. As a result, it will be possible to both air fry or oven bake the breaded halloumi – and this technique can be replicated with Vegan substitutes like Tofu or Banana Blossom, too.
- To Air Fry Breaded Halloumi: Spray your air-fryer basket with neutral cooking oil and heat to 200C. Arrange the breaded halloumi in the basket and air-fry for 20 minutes, checking and turning over halfway through cooking as needed.
- To Oven Bake Breaded Halloumi: Preheat your oven to 180C and line a baking tray with parchment paper. Arrange the chip on the parchment paper and spray with neutral cooking oil. Once the oven is hot, bake for 20-25 minutes, or until golden brown.
How to serve Vegetarian Fish & Chips and Mushy Peas with Battered Halloumi
Of course, Vegetarian fish and chips is a meal within itself – wrapped in newspaper almost like it was from a traditional chip shop or served on fine china – it will be delicious and satisfying. Be sure to sprinkle with a liberal serving of Salt and Vinegar before tucking in, though!
Having said that, you can still choose your favourite sides in addition! Although I’ve included a recipe for Homemade Mushy Peas, you can also enjoy a wide range of other condiments with your chips and battered halloumi: Think chip shop Curry Sauce, Tartar Sauce, Vegetarian Gravy, or even Mayonnaise and Ketchup.
This Recipe Is …
- Traditionally British
- Perfect comfort food
- Crunchy, crispy, light, without being greasy
- Moreish
- Easy to cook
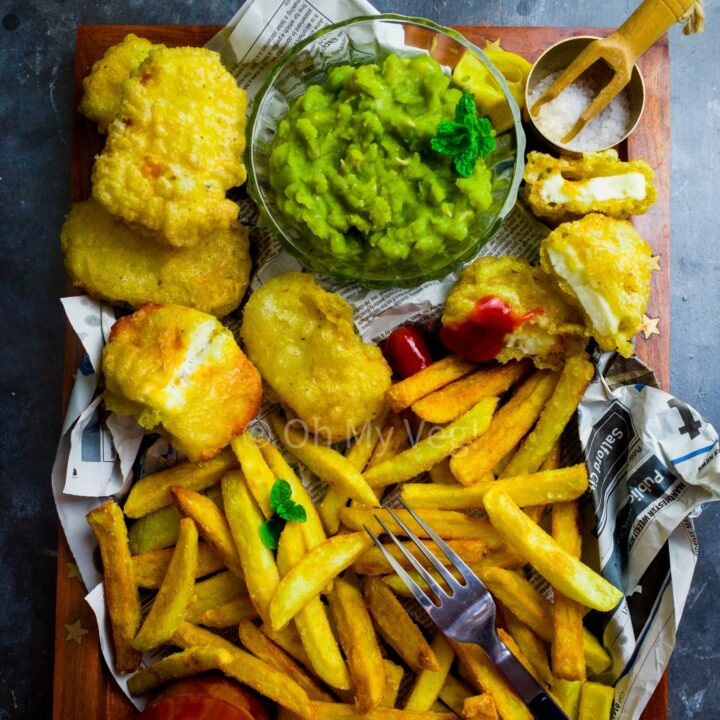
Vegetarian Fish Chips & Mushy Peas with Battered Halloumi
A cultural classic, this is a delicious vegetarian take on the traditional Fish and Chips. Homemade Crispy Potato Chips, Battered Halloumi and Mushy Peas are a perfect combo!
Ingredients
For the Chips
- ~520g Potato, peeled
- 2 tbsp Cornflour
For the Mushy Peas
- 100g Marrowfat Peas
- 3/4 tsp Baking Soda
- Water to Soak
- 400ml Water, to cook
- Salt to taste
- 1/2 tsp Sugar
For the Battered Halloumi
- 60g Flour
- 75ml Soda Water
- Black Pepper, cracked
- 200g Halloumi
Instructions
- Soak the marrowfat peas. The evening before you intend to make the Fish and Chips, soak the marrowfat peas in a large bowl with enough water to cover. Cover the bowl and set aside overnight, or for 6-8 hours minimum.
- To cook the mushy peas, drain them of the soaking water and rinse. Next add them to a small saucepan along with 400ml Water, 3/4 tsp Baking Soda, 1/2 tsp Sugar, and Salt to taste. Boil on low to medium heat for 30 minutes. If needed, after 30 minutes the consistency can be adjusted with more water to taste.
- To prepare the chips, begin by taking your potatoes and peeling them (optional). Cut into even sized chips, and then soak in a bowl of cold water for 20 minutes. Once soaked, wash the starch out again.
- To pre-cook the chips, heat water in a large saucepan over medium heat. Bring the water to a boil. Once it comes to a boil, add the potato chips and cook for 5 minutes. Once 5 minutes have passed, drain and immediately rinse with cold water to stop cooking. Spread the chips out evenly and pat-dry or air dry.
- To fry the chips, place them in a bowl and sprinkle over 2 tbsp of cornflour. Carefully shake to distribute the cornflour evenly. At this stage you can freeze the chips for later use or cook immediately. If cooking immediately, heat oil in a Kadai or Deep Fat Fryer* to around 180C. Once the oil is hot, carefully add the chips to the oil and fry for around 3 minutes, or until golden brown and crispy. Once done remove with a slotted spoon and drain on kitchen tissue.
- To make the halloumi batter, mix together flour, soda water, and black pepper into a smooth batter. You can refrigerate the batter until ready to fry or use immediately.
- To fry the halloumi, cut the halloumi block into thick slices. Heat oil in a large Kadai or Deep Fat Fryer to around 180C. Once the oil is hot, carefully dip each halloumi slice into the cold batter and coat thoroughly. Carefully lower into the oil and repeat for all halloumi slices. Fry until crispy and golden brown, and carefully remove with a slotted spoon and drain on kitchen tissue.
Season everything with salt and vinegar and serve hot. More serving suggestions below.
Notes
*Always exercise caution around hot oil and do not fry unsupervised.


Oh my Ellanor, I’m going to make this sounds absolutely delicious